In this article we are going to learn about how to implement WebRTC in WebView for IOS, Android and Flutter
Implementing WebRTC in IOS WebView
Let us create a simple app with WebRTC enables and in a step by step process to better understand how you can implement webrtc in IOS on webview
open Xcode and create a new app and name it webrtcInWebviewTestApp
select Swift and Swift UI as your preferred language then
Step 1: Create the webrtc_in_webview_testApp
open the file webrtcInWebviewTestApp
import SwiftUI
import WebKit

@main
struct webrtc_in_webview_testApp: App {
    var body: some Scene {
        WindowGroup {
            ContentView()
        }
    }
}

struct WebView: UIViewRepresentable {
    var url: URL

    func makeUIView(context: Context) -> WKWebView {
        return WKWebView()
    }

    func updateUIView(_ webView: WKWebView, context: Context) {
        let request = URLRequest(url: url)
        webView.load(request)
    }
}
webrtcInWebviewTestAppWhat are we doing here
First we are importing the SwiftUI and the WebKit
Swift UI is the framework that is used to build the user interfaces in IOS
WebKit is the framework that provides a WWebView class for rendering web content in the app
@main
struct webrtc_in_webview_testApp: App {
    var body: some Scene {
        WindowGroup {
            ContentView()
        }
    }
}
The @main attribute marke the main entry point in our app
The webrtc_in_webview_testApp Struct represents the structure and the behaviour of the app we are building
The Body property returns ` Scene that defines the main user interface
WindowGroup is a scene that provides a window for the app user interface. This contains the ContentView as the main view of the app. Hense proved
WebView Struct
struct WebView: UIViewRepresentable {
    var url: URL

    func makeUIView(context: Context) -> WKWebView {
        return WKWebView()
    }

    func updateUIView(_ webView: WKWebView, context: Context) {
        let request = URLRequest(url: url)
        webView.load(request)
    }
}
UIViewRepresentable Protocol is used to integrate the UIKit view such as the WwebView into the Swift UI
makeUIView(context:)
func makeUIView(context: Context) -> WKWebView {
    return WKWebView()
}
This method creates and returns the initial WWebView instance that will be used in the SwiftUI view hierarchy
The context parameter provides information about the current state and environment of the SwiftUI view
the return value is the WKWebview instance
updateUIView(_:context)
func updateUIView(_ webView: WKWebView, context: Context) {
    let request = URLRequest(url: url)
    webView.load(request)
}
This method updates the WkWebView with new information whenever the SwiftUI state changes
the webView is the instance created by the makeUIView(context:)
the context provides the context about the view's environment
Step 2: Create the ContentView Struct
Open the contentView file and paste the following there
import SwiftUI

struct ContentView: View {
    var body: some View {
        WebView(url: URL(string: "https://webrtc.github.io/samples/src/content/getusermedia/gum/")!)  // This is a sample WebRTC-based video chat service
            .edgesIgnoringSafeArea(.all)

    }
}

#Preview {
    ContentView()
}
What are we doing here
- We are importing the SwiftUI, It is a framework that is used to build user interfaces in swift for iOS
ContentView Struct and defination
struct ContentView: View {
    var body: some View {
        WebView(url: URL(string: "https://webrtc.github.io/samples/src/content/getusermedia/gum/")!)  // This is a sample WebRTC-based video chat service
            .edgesIgnoringSafeArea(.all)

    }
}the ContentView Struct defines a new SwiftUI view named ContentView
Body Property: The property is required by the view protocol and describes the view content and layout
URL initialization: Create a URL Object from a string, you can specify any webrtc URL here. The exclamation mark ! at the end is used to force unwrap the optional url
edgesIgnoringSafeArea(.all) is used to ignore safe area inserts allowing it to take the full screen
Step 3: Create info.plist
How to create an info.plist file
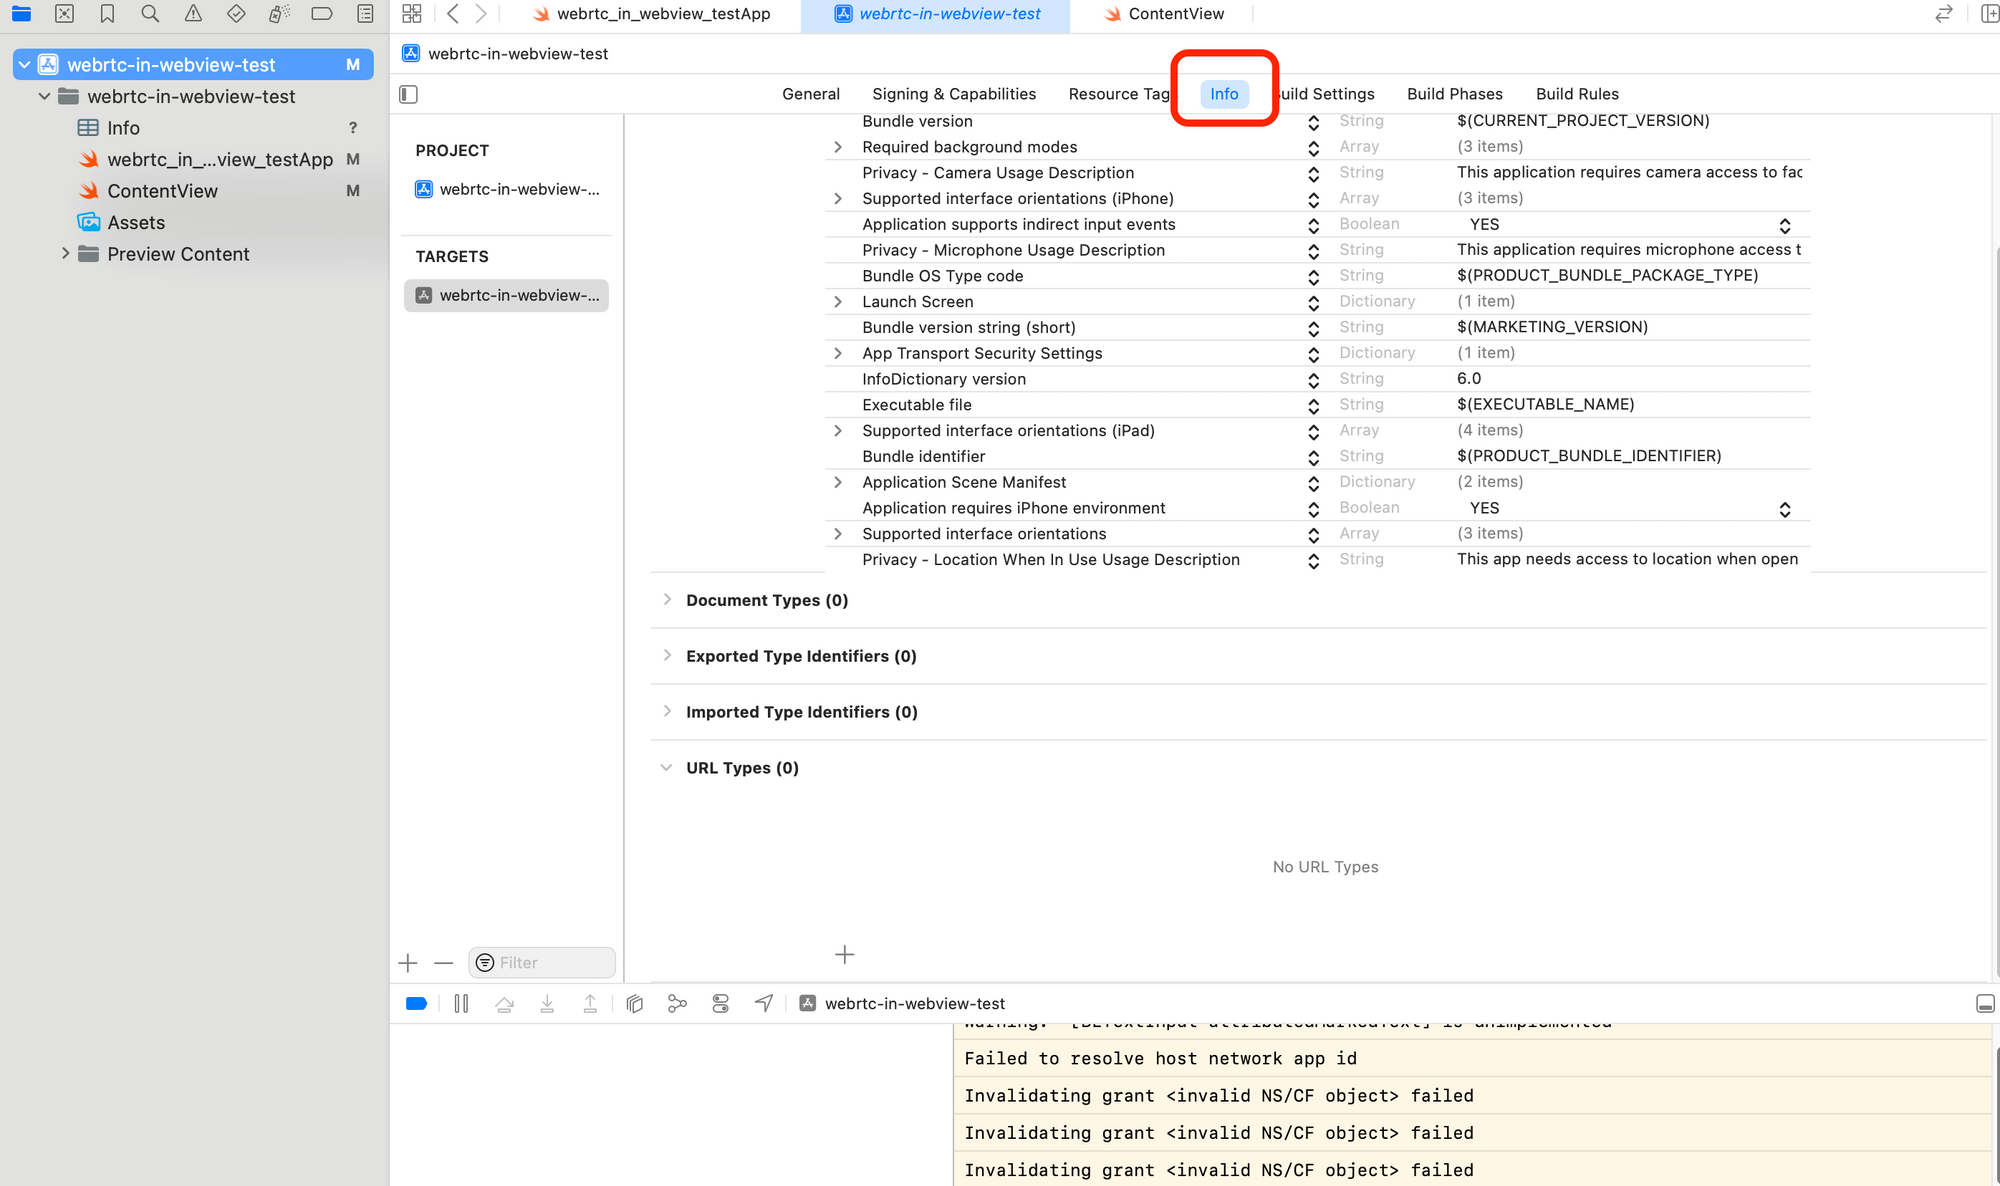
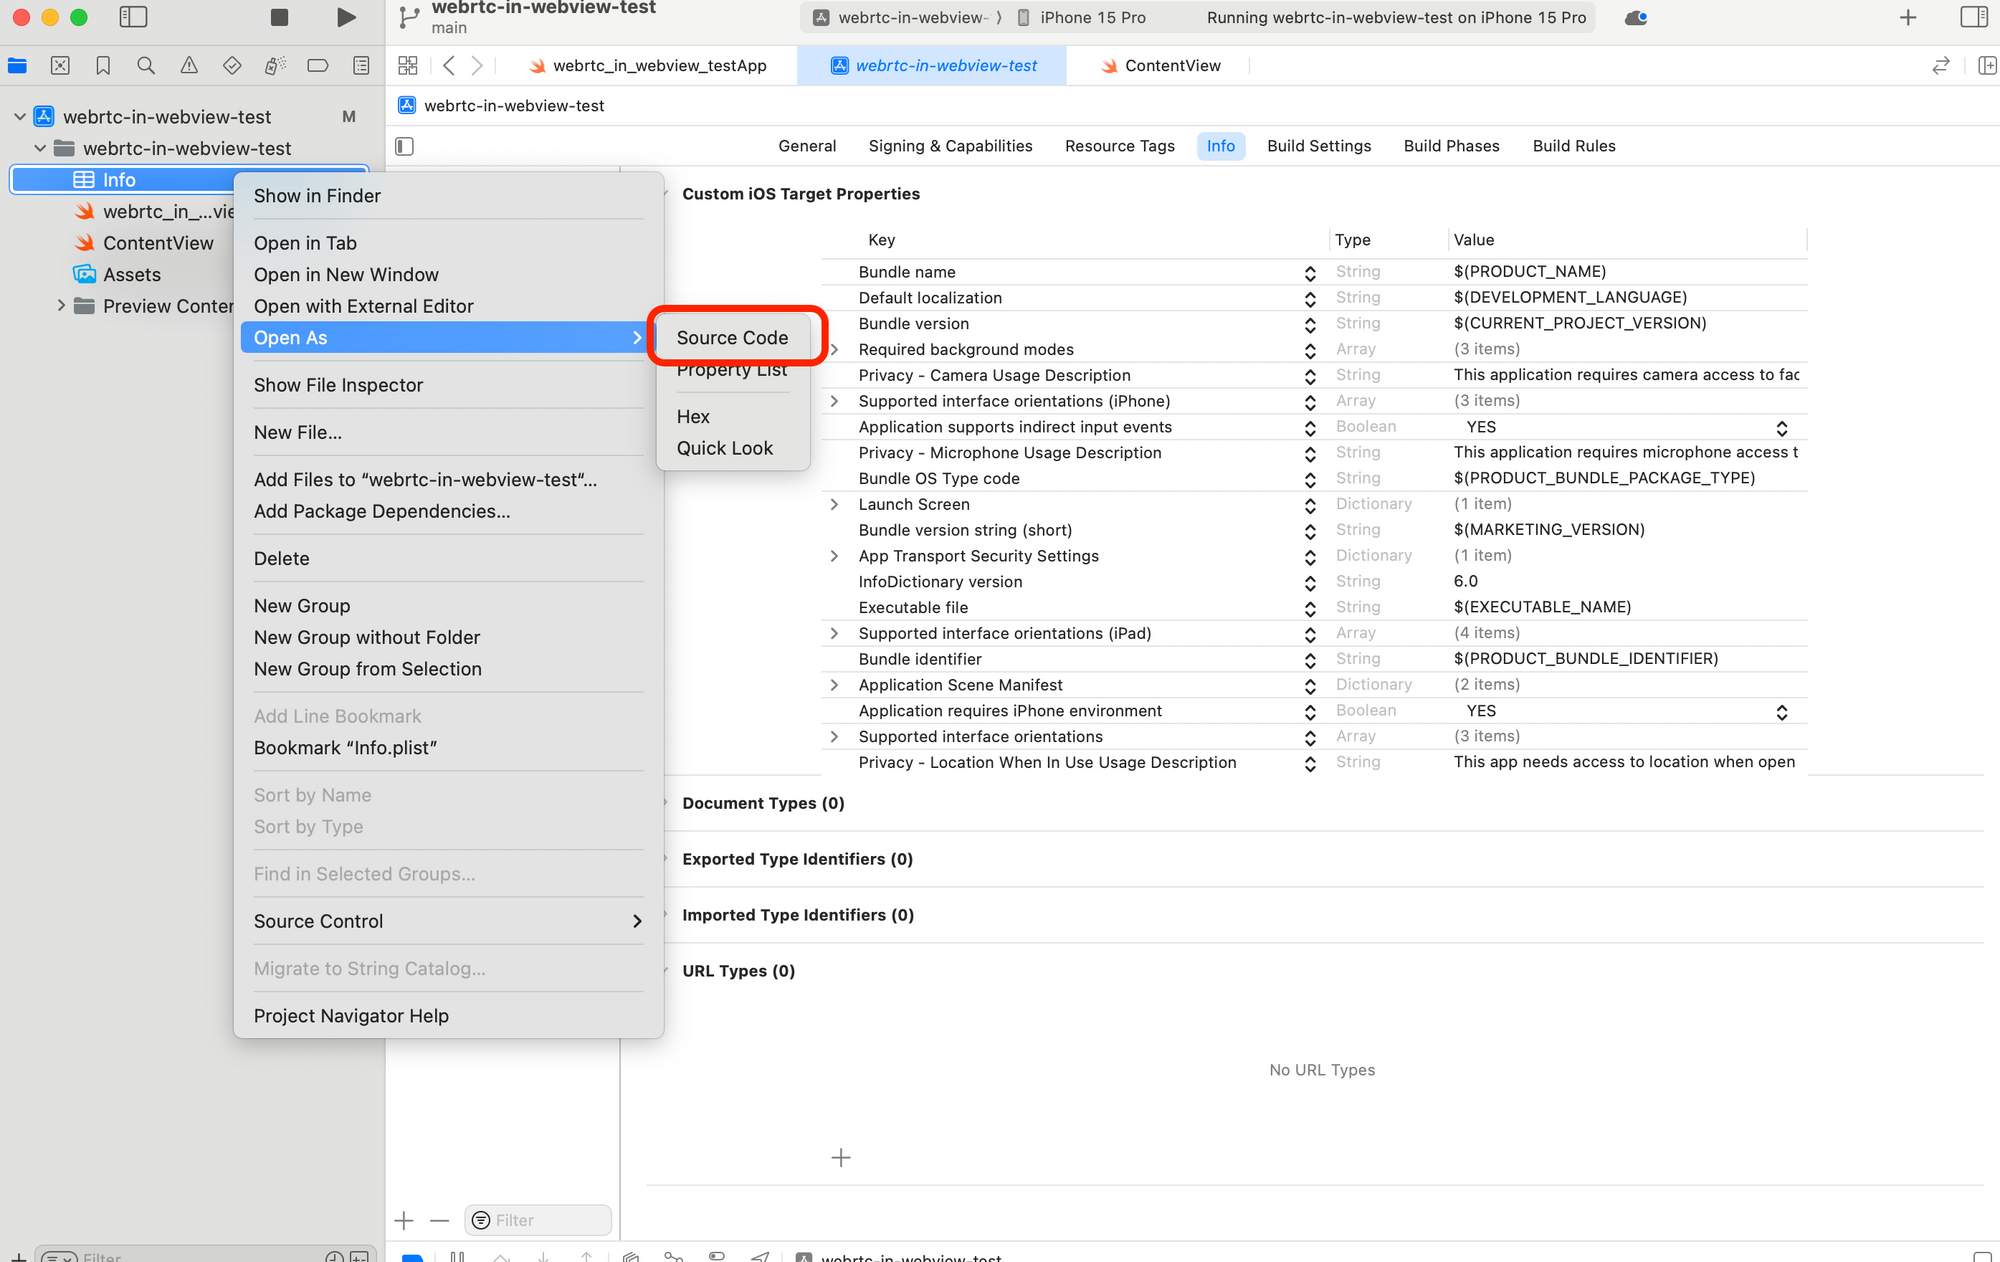
Step 1: Cick on your appname in the sidebar
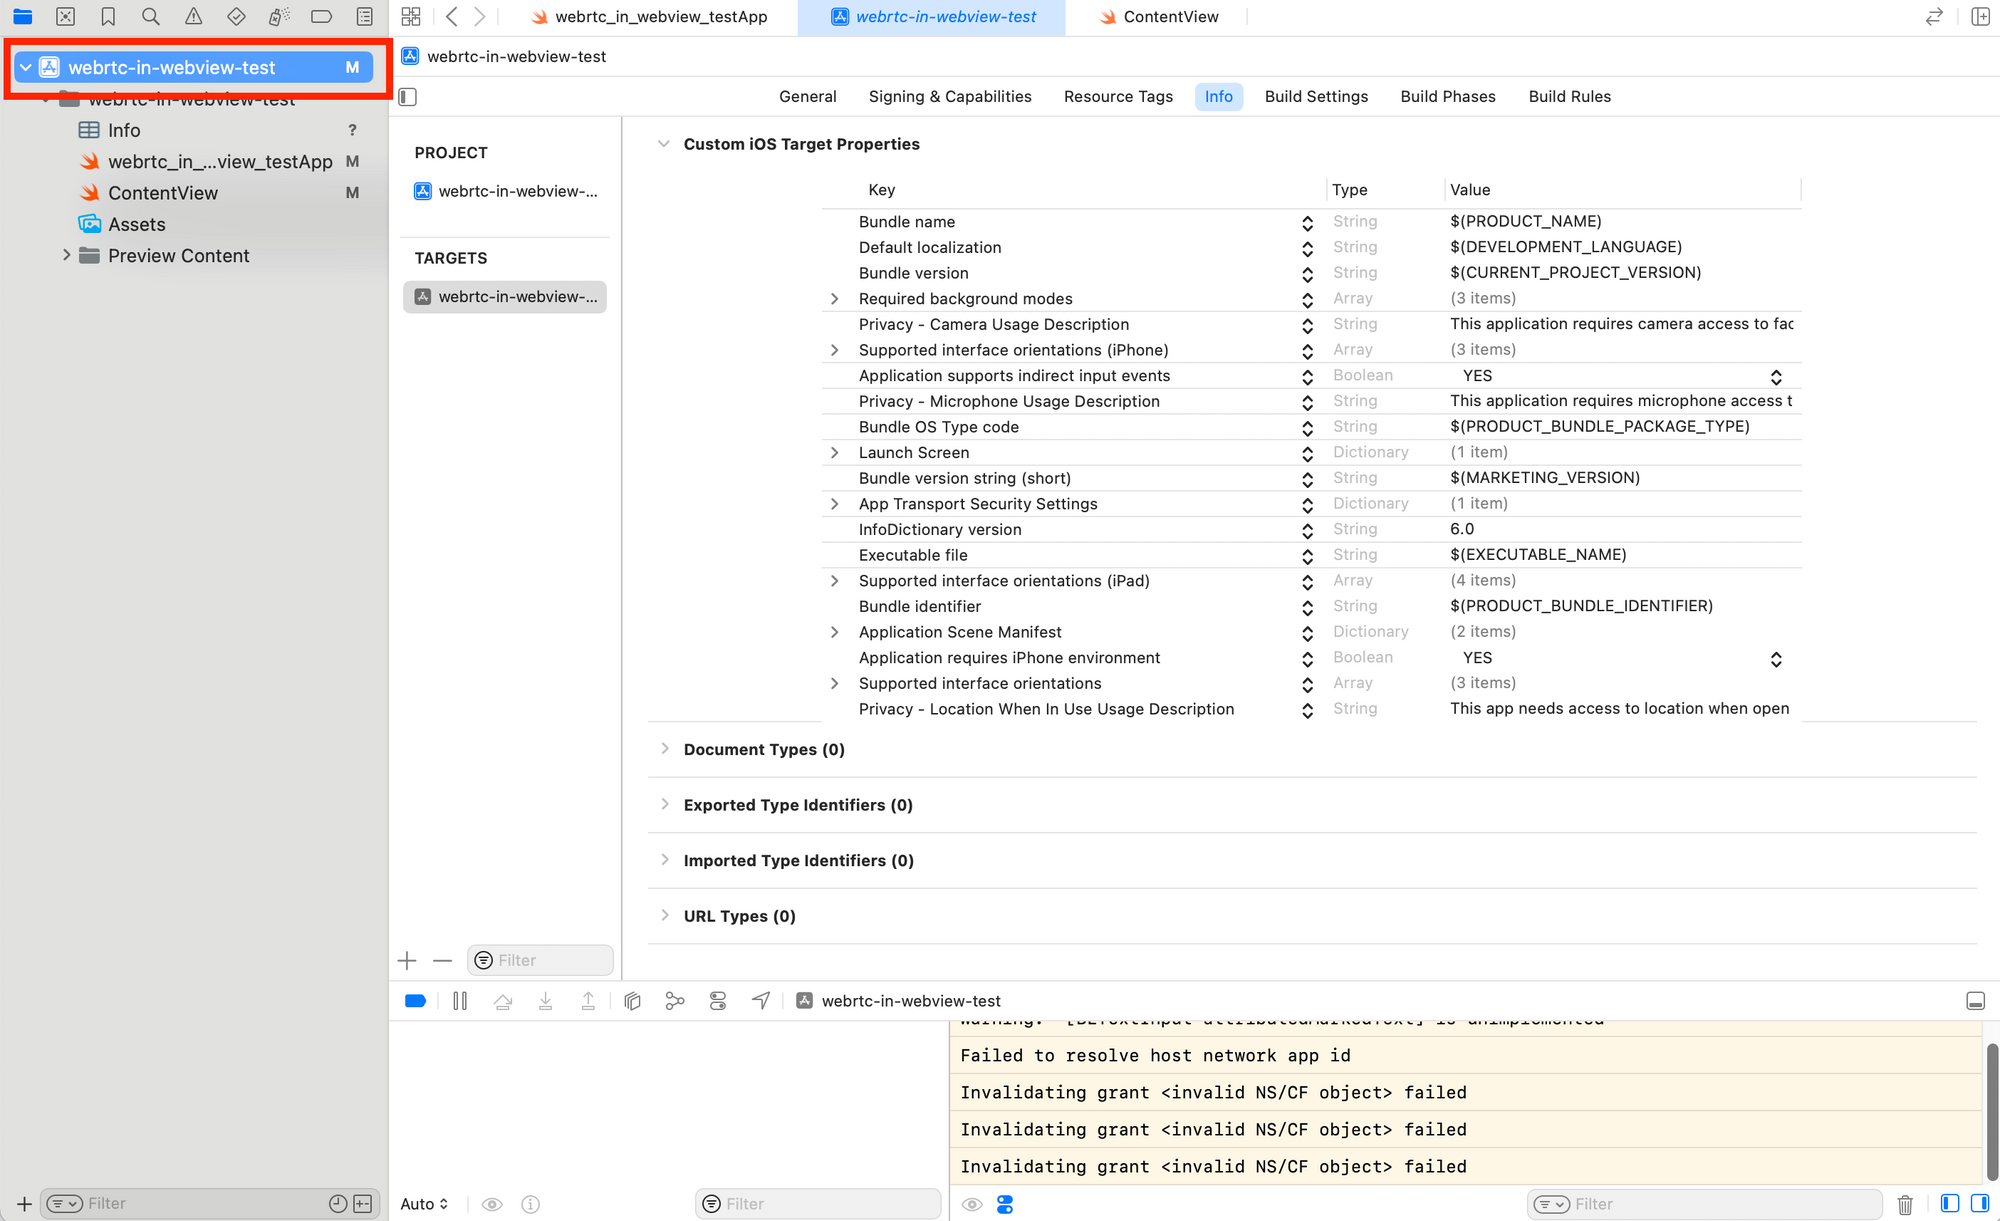
then click on the info button
Then click on the plus button to create an info.plist file
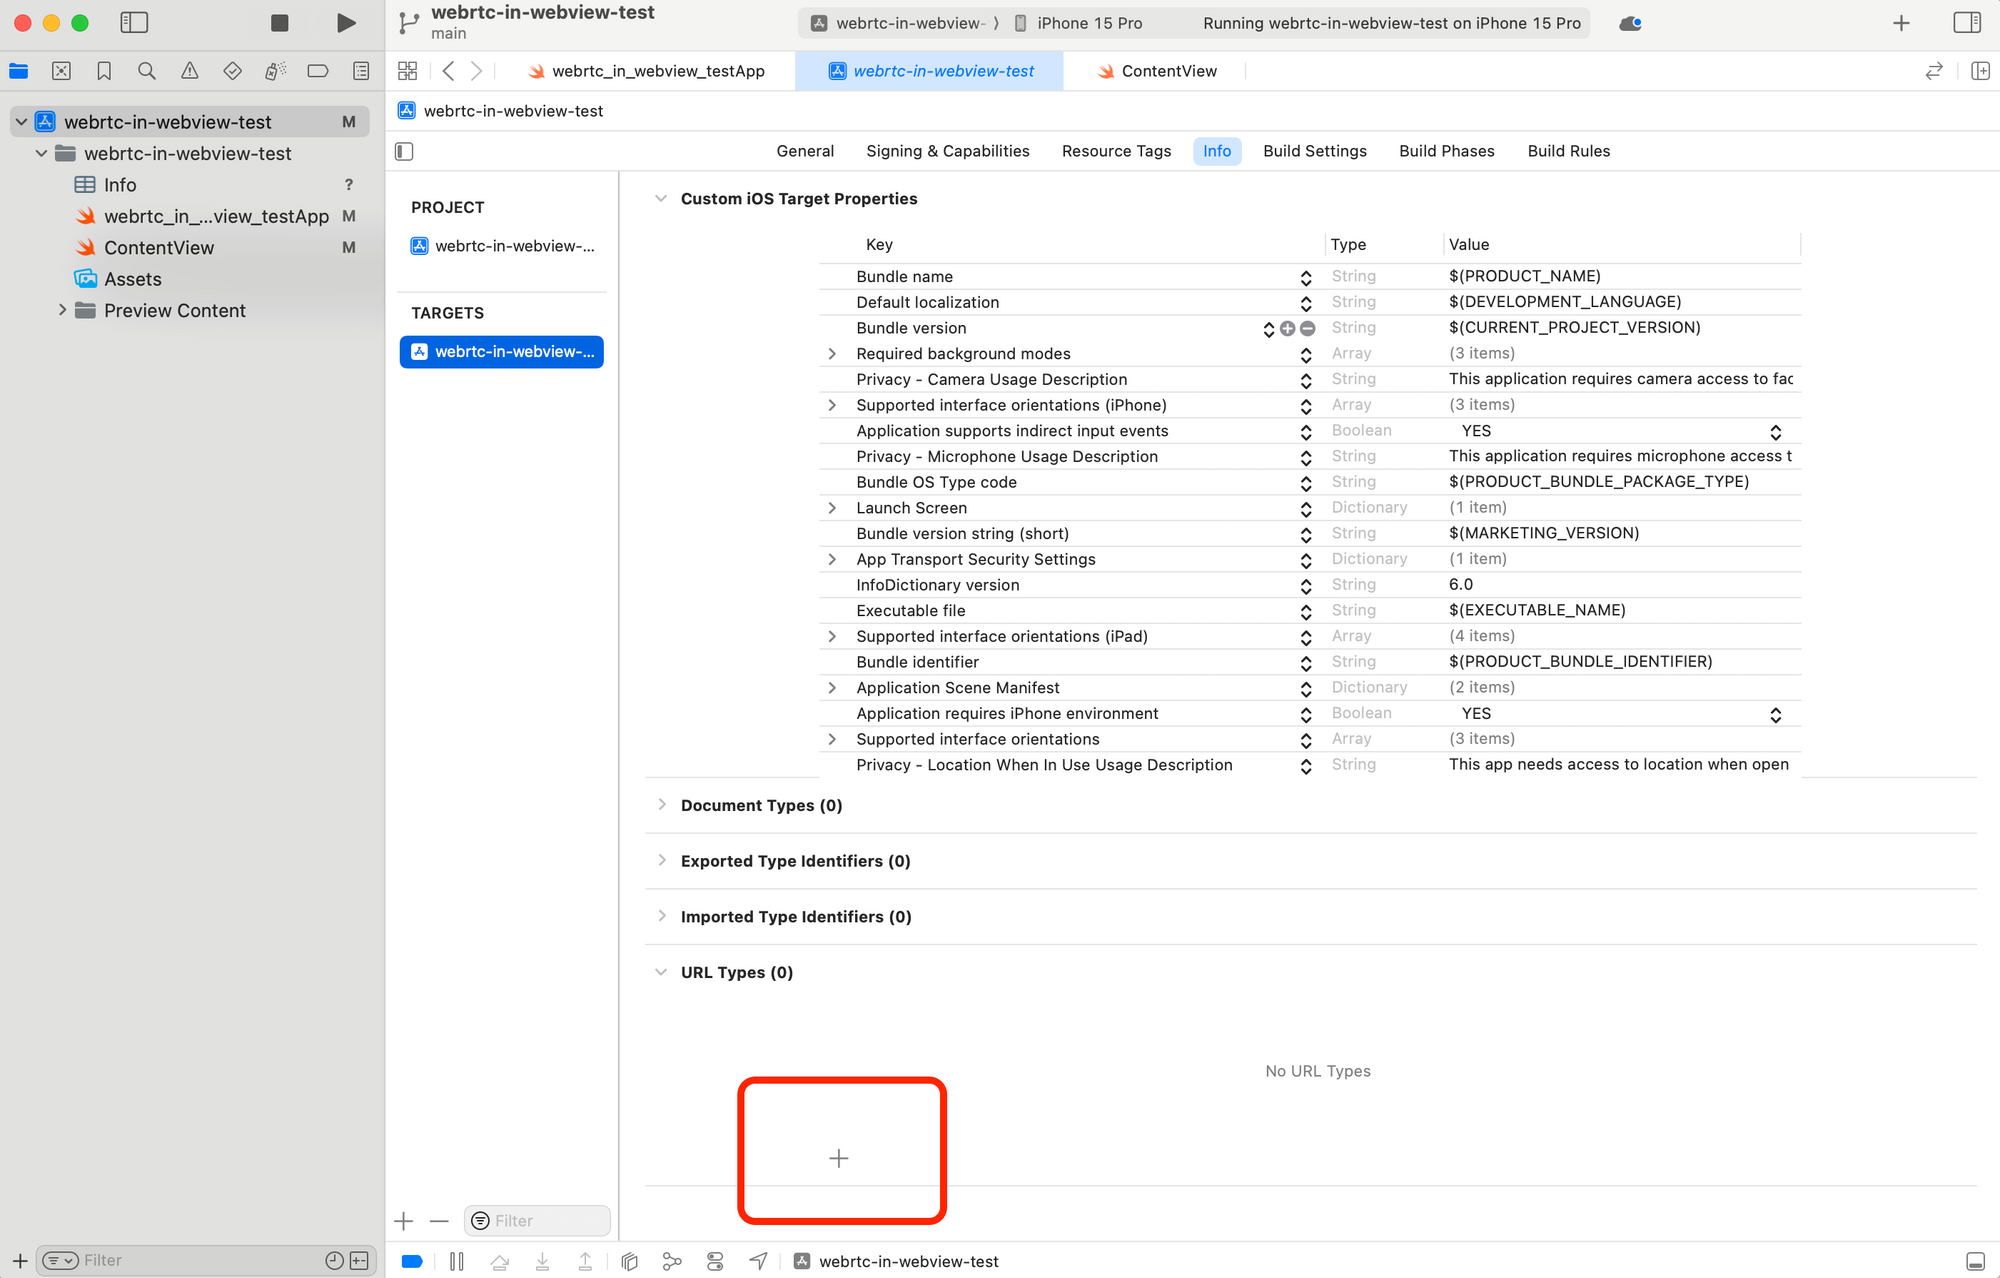
Then it will create a new info.plist right click on the info.plist and open it as source code
then paste the following code in the info.plist
<?xml version="1.0" encoding="UTF-8"?>
<!DOCTYPE plist PUBLIC "-//Apple//DTD PLIST 1.0//EN" "http://www.apple.com/DTDs/PropertyList-1.0.dtd">
<plist version="1.0">
    <dict>

        <!-- Camera Usage Description -->
        <key>NSCameraUsageDescription</key>
        <string>This application requires camera access to facilitate video calls.</string>

        <!-- Microphone Usage Description -->
        <key>NSMicrophoneUsageDescription</key>
        <string>This application requires microphone access to facilitate audio exchange during video calls.</string>

        <!-- Location Usage Description (if needed for your application) -->
        <key>NSLocationWhenInUseUsageDescription</key>
        <string>This app needs access to location when open to provide location-based services.</string>

        <!-- Network Security Configuration -->
        <key>NSAppTransportSecurity</key>
        <dict>
            <key>NSAllowsArbitraryLoads</key>
            <true/>
        </dict>

        <!-- Required background modes (if needed for keeping the app running in background) -->
        <key>UIBackgroundModes</key>
        <array>
            <string>audio</string>
            <string>fetch</string>
            <string>location</string>
        </array>

        <!-- Supported interface orientations -->
        <key>UISupportedInterfaceOrientations</key>
        <array>
            <string>UIInterfaceOrientationPortrait</string>
            <string>UIInterfaceOrientationLandscapeLeft</string>
            <string>UIInterfaceOrientationLandscapeRight</string>
        </array>
    </dict>
    </plist>
</plist>
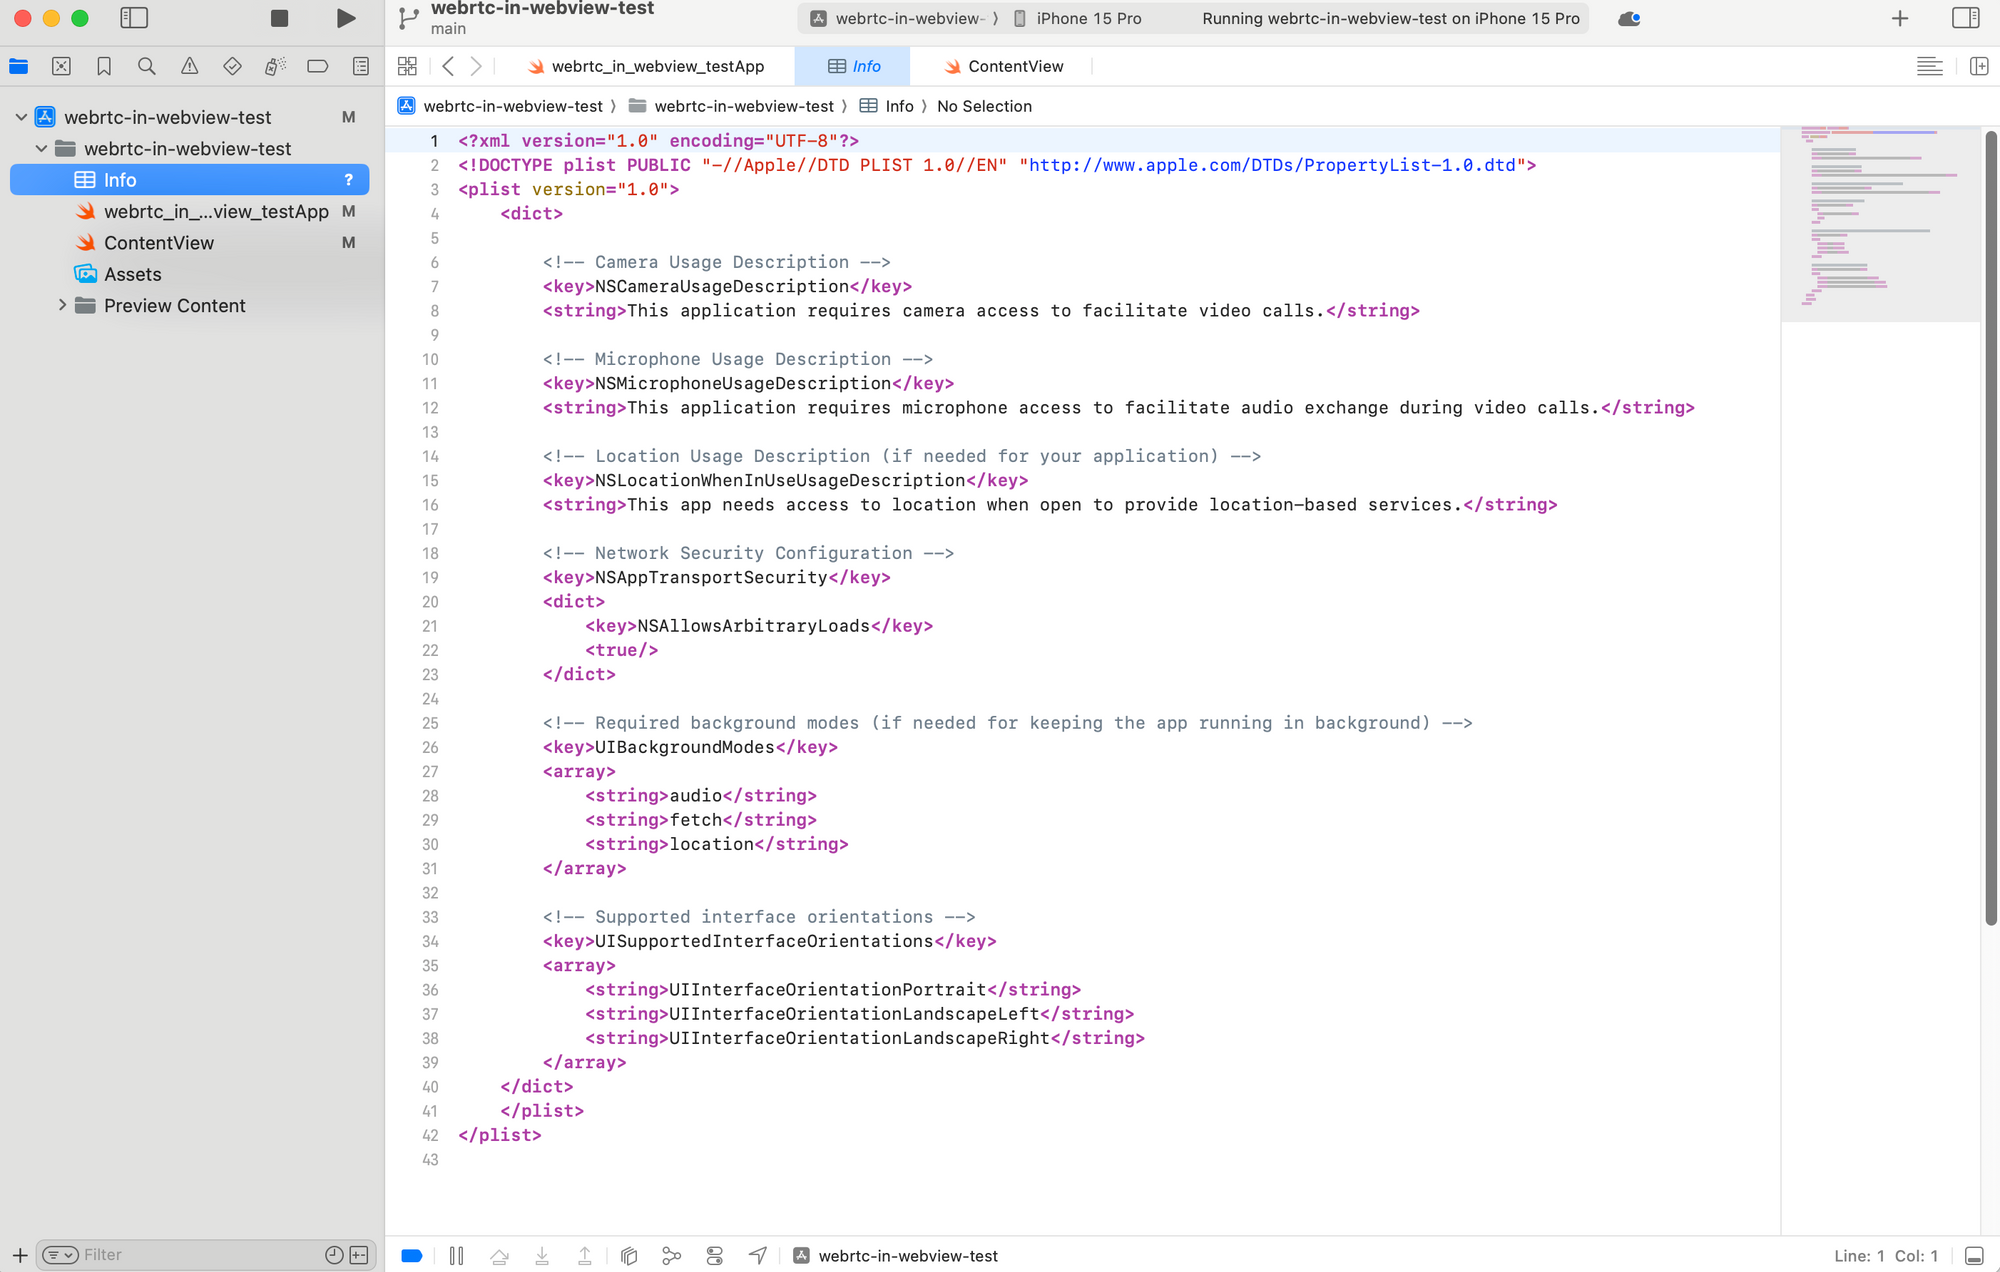
You need to create the info.plist file because you need to ask permission from the user for the camera and the audio for your webrtc application
What are we doing here
we are asking for permissions from the user for camera and microphone. The string in the Camera and Microphone description lets the user know why we need the permission
In this case we are doing webrtc video calling in the webpage and bacause of that we are asking the permission
Step 4: Run the App
Then run the app and you can see the webrtc page in the app like so


Metered TURN servers
- API: TURN server management with powerful API. You can do things like Add/ Remove credentials via the API, Retrieve Per User / Credentials and User metrics via the API, Enable/ Disable credentials via the API, Retrive Usage data by date via the API.
- Global Geo-Location targeting: Automatically directs traffic to the nearest servers, for lowest possible latency and highest quality performance. less than 50 ms latency anywhere around the world
- Servers in all the Regions of the world: Toronto, Miami, San Francisco, Amsterdam, London, Frankfurt, Bangalore, Singapore,Sydney, Seoul, Dallas, New York
- Low Latency: less than 50 ms latency, anywhere across the world.
- Cost-Effective: pay-as-you-go pricing with bandwidth and volume discounts available.
- Easy Administration: Get usage logs, emails when accounts reach threshold limits, billing records and email and phone support.
- Standards Compliant: Conforms to RFCs 5389, 5769, 5780, 5766, 6062, 6156, 5245, 5768, 6336, 6544, 5928 over UDP, TCP, TLS, and DTLS.
- Multi‑Tenancy: Create multiple credentials and separate the usage by customer, or different apps. Get Usage logs, billing records and threshold alerts.
- Enterprise Reliability: 99.999% Uptime with SLA.
- Enterprise Scale: With no limit on concurrent traffic or total traffic. Metered TURN Servers provide Enterprise Scalability
- 5 GB/mo Free: Get 5 GB every month free TURN server usage with the Free Plan
- Runs on port 80 and 443
- Support TURNS + SSL to allow connections through deep packet inspection firewalls.
- Supports both TCP and UDP
- Free Unlimited STUN
Here are some of our other good article
- What is WebRTC protocol?
- WebRTC Server: What Is It and Why You Need One?
- How to Embed Video Call on Website in 5 Easy Steps
- WebRTC Screen Sharing with Javascript
I hope you like the article, thank you for reading.