WebRTC DataChannel Tutorial
Overview
In this guide we will learn how you can build a Chat Application purely using WebRTC datachannels.
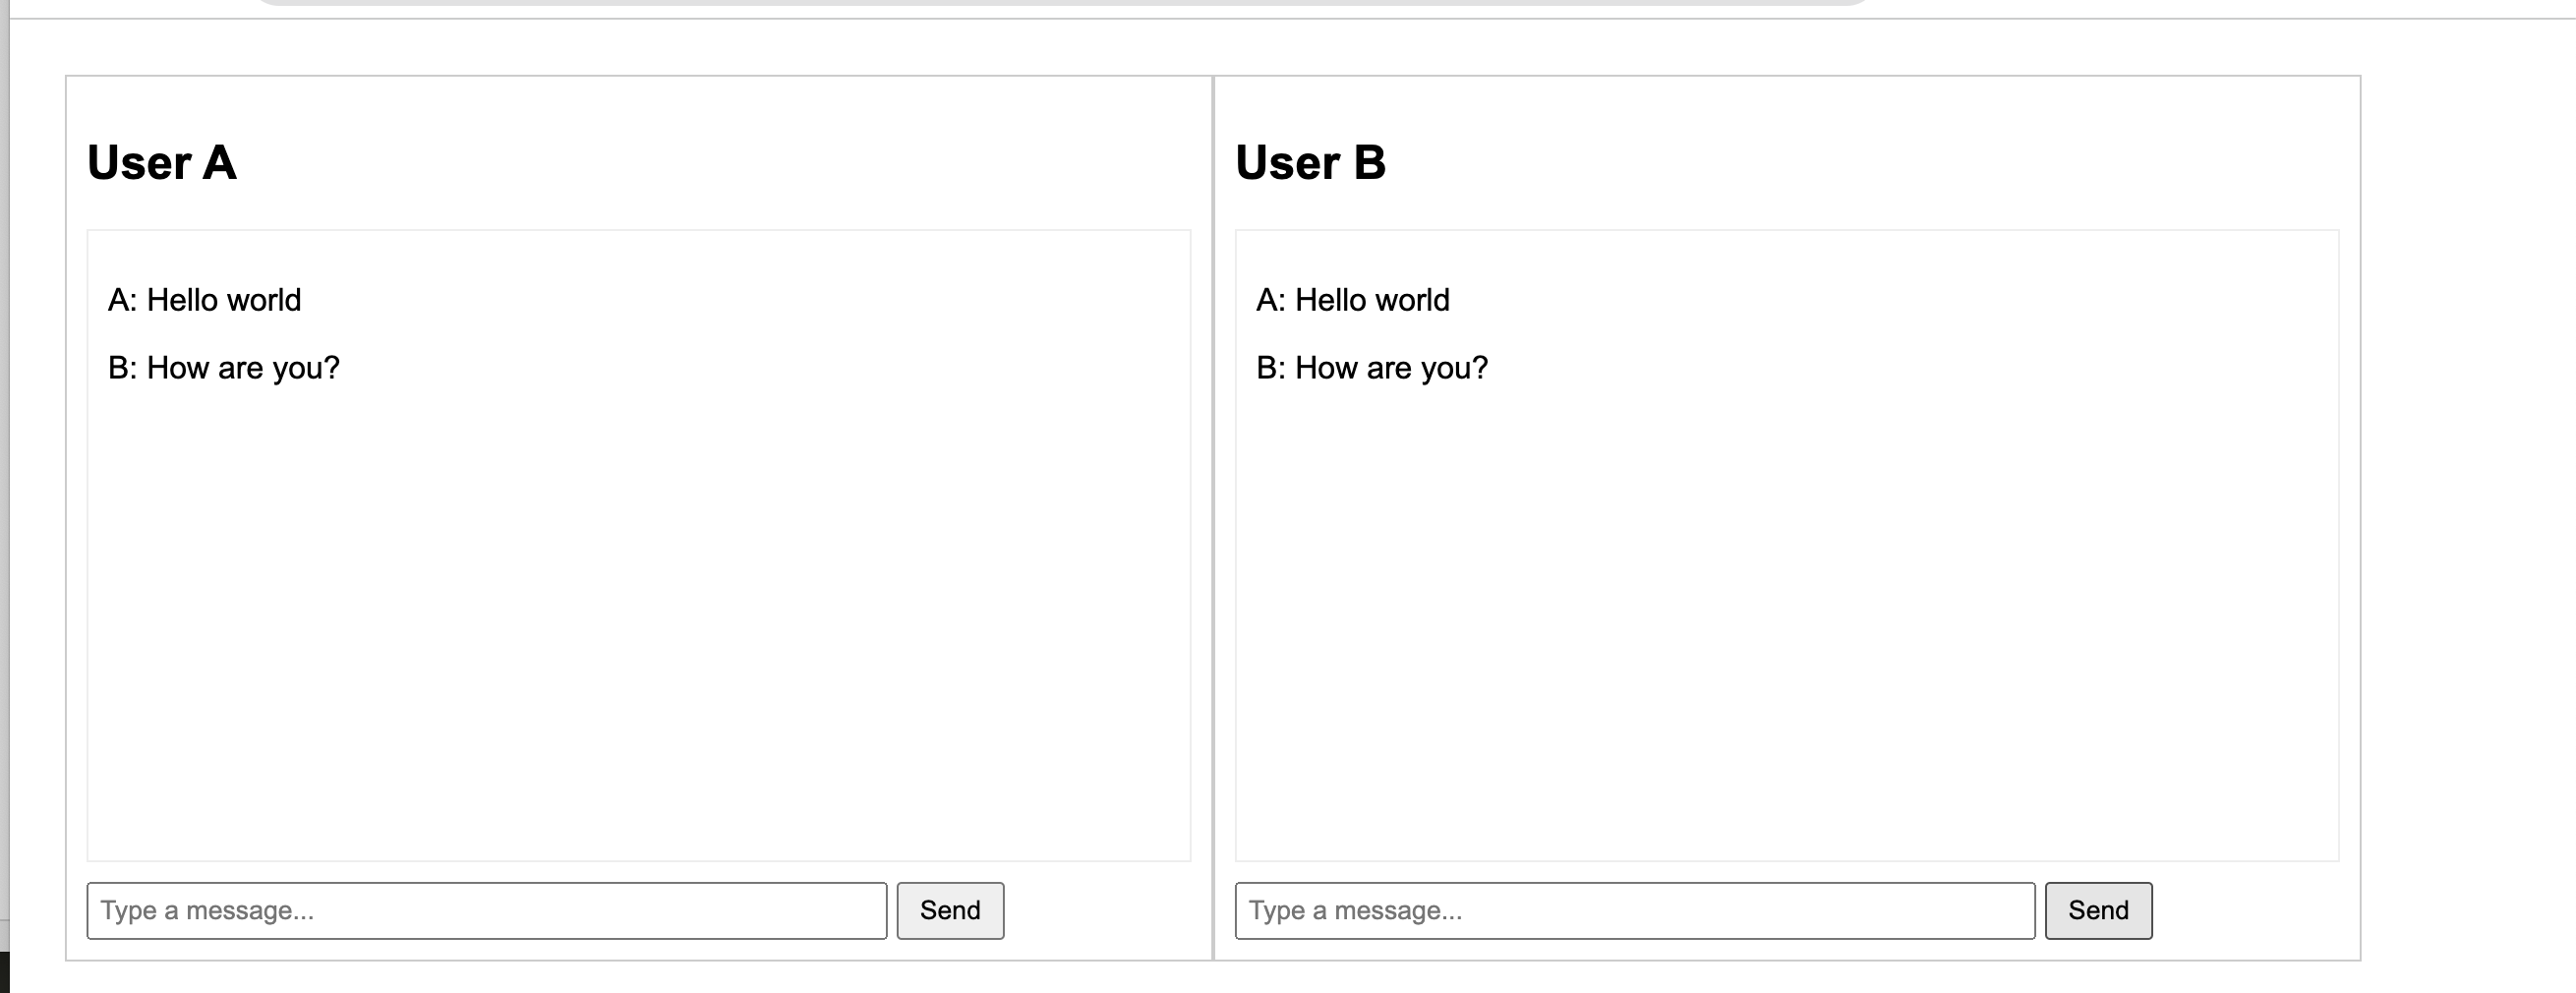
The application would be very simple, we will have two chat windows on the same page, and message sent in one window will be received in another and vice versa.
The messages are transmitted via WebRTC peer-to-peer connection, even though both the chat windows are on the same page, they could be on different computers across the globe.
Pre-requisite
To establish a peer-to-peer connection, you would need a STUN and TURN Server.
You can signup for a free account and use the Metered STUN/TURN Server or any other STUN TURN Server if you prefer. If you need more information on TURN Servers, feel free to visit this page.
WebRTC DataChannels
WebRTC DataChannels allows us to share arbitrary data over peer-to-peer connections. It can text or blobs for file sharing. In this example we will create a datachannel to share text messages.
Step-by-step Guide to Building a WebRTC Chat Application
Step 1: Scaffolding the UI
Let's first build a simple chat interface, we will create two chat windows one for each user (User A and User B).
<!DOCTYPE html>
<html lang="en">
<head>
    <style>
        body {
            font-family: Arial, sans-serif;
            display: flex;
            flex-direction: row;
            align-items: center;
            padding: 20px;
        }
        .chat-window {
            width: 45%;
            border: 1px solid #ccc;
            padding: 10px;
            margin-right: 10px;
        }
        .messages {
            height: 300px;
            overflow-y: auto;
            border: 1px solid #eee;
            margin-bottom: 10px;
            padding: 10px;
        }
        input[type="text"] {
            width: 70%;
            padding: 5px;
        }
        button {
            padding: 5px 10px;
        }
    </style>
</head>
<body>
    <div class="chat-window">
        <h2>User A</h2>
        <div id="messagesA" class="messages"></div>
        <input type="text" id="inputA" placeholder="Type a message...">
        <button onclick="sendMessage('A')">Send</button>
    </div>
    <div class="chat-window">
        <h2>User B</h2>
        <div id="messagesB" class="messages"></div>
        <input type="text" id="inputB" placeholder="Type a message...">
        <button onclick="sendMessage('B')">Send</button>
    </div>
</body>
</html>
Step 2: WebRTC PeerConnection Setup
We will create two RTCPeerConnection objects one for each User.
Then we will exchange the iceCandidates among the two PeerConnections to establish a peer-to-peer connection.
Right now as both the RTCPeerConnection objects are on the same page we are exchanging the ice-candidates directly, in a real-world application you will have exchange the ice-candidates using a signalling server.
let peerConnectionA;
let peerConnectionB;
let dataChannelA;
let dataChannelB;

const configuration = {
    iceServers: [
       {
        urls: "stun:stun.relay.metered.ca:80"
       },
       {
            urls: "turn:standard.relay.metered.ca:80",
            username: "",
            credential: "",
        },
    ],
};
- We declare variables to hold our peer connections and data channels.
- The iceServers array contains the list of STUN/TURN Servers, you can obtain this by creating a free account in Metered.
Next we will create will create actual peerConnection objects for each of our users and data-channels on those peerConnections.
peerConnectionA = new RTCPeerConnection(configuration);
peerConnectionB = new RTCPeerConnection(configuration);

// Create DataChannel on peer A and listen for it on peer B
dataChannelA = peerConnectionA.createDataChannel("chat");
setupDataChannel(dataChannelA, 'A');

peerConnectionB.ondatachannel = (event) => {
    dataChannelB = event.channel;
    setupDataChannel(dataChannelB, 'B');
};

function setupDataChannel(channel, user) {
    channel.onopen = () => console.log(`Data channel for ${user} is open`);
    channel.onmessage = (event) => receiveMessage(user, event.data);
}
In the above code we are creating a data channel on peerConnectionA and setting it up for User A. The createDataChannel method is used to create a new channel, and we are naming it "chat". The setupDataChannel function is then called to set up the data channel for User A.
On peerConnectionB, we are setting up an event listener for the ondatachannel event. This event is fired when an RTCDataChannel is added to the connection by the remote peer. The event handler receives an event object, from which we can get the data channel (event.channel). We then set up this data channel for User B using the setupDataChannel function.
In this way, we are creating a data channel on one peer connection and setting up a listener for it on the other peer connection. This allows the two users to communicate over this data channel.
// Here, we are exchanging ICE candidates between peer A and peer B.
// In this example, we are doing this directly because both peer connections are on the same page.
// However, in a real-world application, peer connections are likely to be on different computers.
// Therefore, instead of directly calling peerConnectionB.addIceCandidate, we would send the ICE candidate over a signalling server.
// The signalling server would then relay the ICE candidate to peer B, which is on a different computer.
// Upon receiving the ICE candidate from the signalling server, peer B would then add it to its peer connection.
peerConnectionA.onicecandidate = (event) => {
    if (event.candidate) {
        peerConnectionB.addIceCandidate(event.candidate);
    }
};
peerConnectionB.onicecandidate = (event) => {
    if (event.candidate) {
        peerConnectionA.addIceCandidate(event.candidate);
    }
};

// Create an offer from peer A and set up the connection
// this triggers the
const offer = await peerConnectionA.createOffer();
await peerConnectionA.setLocalDescription(offer);
await peerConnectionB.setRemoteDescription(offer);

const answer = await peerConnectionB.createAnswer();
await peerConnectionB.setLocalDescription(answer);
await peerConnectionA.setRemoteDescription(answer);
In the above code we are creating listeners for ice-candidates and exchanging the offer and answer to establish a peer-to-peer connection between peerConnectionA and peerConnectionB
Step 3: Sending and Receiving Messages
Next we will add the code to send the message over the datachannel and handle the code to recieve the message over the data-channel.
To send the message you can simply call the send method on the datachannel object.
dataChannelA.send(data)
function sendMessage(user) {
    const input = document.getElementById(`input${user}`);
    const message = input.value;
    if (message) {
        const data = JSON.stringify({ user, message });
        if (user === 'A' && dataChannelA.readyState === "open") {
            dataChannelA.send(data);
            displayMessage('A', `A: ${message}`);
        } else if (user === 'B' && dataChannelB.readyState === "open") {
            dataChannelB.send(data);
            displayMessage('B', `B: ${message}`);
        }
        input.value = '';
    }
}

function receiveMessage(user, data) {
    const { user: sender, message } = JSON.parse(data);
    displayMessage(user, `${sender}: ${message}`);
}

function displayMessage(user, message) {
    const messageBox = document.getElementById(`messages${user}`);
    const messageElement = document.createElement('p');
    messageElement.textContent = message;
    messageBox.appendChild(messageElement);
    messageBox.scrollTop = messageBox.scrollHeight;
}
sendMessage: Sends the message via the data channel.receiveMessage: Receives and displays the message on the chat window.displayMessage: Updates the DOM to show the messages in the chat window.
Step 5: Putting it all together
Here is the complete code put all-together
<!DOCTYPE html>
<html lang="en">
<head>
        <style>
        body {
            font-family: Arial, sans-serif;
            display: flex;
            flex-direction: row;
            align-items: center;
            padding: 20px;
        }
        .chat-windows {
            display: flex;
            justify-content: space-around;
            width: 100%;
        }
        .chat-window {
            width: 45%;
            border: 1px solid #ccc;
            padding: 10px;
        }
        .messages {
            height: 300px;
            overflow-y: auto;
            border: 1px solid #eee;
            margin-bottom: 10px;
            padding: 10px;
        }
        input[type="text"] {
            width: 70%;
            padding: 5px;
        }
        button {
            padding: 5px 10px;
        }
        #debugInfo {
            margin-top: 20px;
            width: 100%;
            height: 150px;
            overflow-y: auto;
            border: 1px solid #ccc;
            padding: 10px;
            font-family: monospace;
        }
    </style>
</head>
<body style="display:flex">
    <div class="chat-window">
        <h2>User A</h2>
        <div id="messagesA" class="messages"></div>
        <input type="text" id="inputA" placeholder="Type a message...">
        <button onclick="sendMessage('A')">Send</button>
    </div>
    <div class="chat-window">
        <h2>User B</h2>
        <div id="messagesB" class="messages"></div>
        <input type="text" id="inputB" placeholder="Type a message...">
        <button onclick="sendMessage('B')">Send</button>
    </div>

    <script>
        let peerConnectionA;
        let peerConnectionB;
        let dataChannelA;
        let dataChannelB;

        const configuration = {
            iceServers: []
        };

        async function initWebRTC() {
            peerConnectionA = new RTCPeerConnection(configuration);
            peerConnectionB = new RTCPeerConnection(configuration);

            // Set up data channel on Peer A
            dataChannelA = peerConnectionA.createDataChannel("chat");
            setupDataChannel(dataChannelA, 'A');

            // Receive data channel on Peer B
            peerConnectionB.ondatachannel = (event) => {
                dataChannelB = event.channel;
                setupDataChannel(dataChannelB, 'B');
            };

            // Exchange ICE candidates
            peerConnectionA.onicecandidate = (event) => {
                if (event.candidate) {
                    peerConnectionB.addIceCandidate(event.candidate);
                }
            };
            peerConnectionB.onicecandidate = (event) => {
                if (event.candidate) {
                    peerConnectionA.addIceCandidate(event.candidate);
                }
            };

            // Create offer from A and set local/remote descriptions
            const offer = await peerConnectionA.createOffer();
            await peerConnectionA.setLocalDescription(offer);
            await peerConnectionB.setRemoteDescription(offer);

            // Create answer from B and set local/remote descriptions
            const answer = await peerConnectionB.createAnswer();
            await peerConnectionB.setLocalDescription(answer);
            await peerConnectionA.setRemoteDescription(answer);
        }

        function setupDataChannel(channel, localUser) {
            channel.onopen = () => console.log(`Data channel for ${localUser} is open`);
            channel.onmessage = (event) => receiveMessage(localUser, event.data);
        }

        function sendMessage(user) {
            const input = document.getElementById(`input${user}`);
            const message = input.value;
            if (message) {
                const data = JSON.stringify({ user, message });
                if (user === 'A' && dataChannelA && dataChannelA.readyState === "open") {
                    dataChannelA.send(data);
                    displayMessage(user, `${user}: ${message}`);
                    input.value = '';
                } else if (user === 'B' && dataChannelB && dataChannelB.readyState === "open") {
                    dataChannelB.send(data);
                    displayMessage(user, `${user}: ${message}`);
                    input.value = '';
                }
            }
        }

        function receiveMessage(localUser, data) {
            const { user: fromUser, message } = JSON.parse(data);
            displayMessage(localUser, `${fromUser}: ${message}`);
        }

        function displayMessage(user, message) {
            const messagesDiv = document.getElementById(`messages${user}`);
            const messageElement = document.createElement('p');
            messageElement.textContent = message;
            messagesDiv.appendChild(messageElement);
            messagesDiv.scrollTop = messagesDiv.scrollHeight;
        }

        initWebRTC();
    </script>
</body>
</html>