Contents
DocuScout AI
Jekyll Site Search Plugin
This guide will walk you through adding an AI-powered Site Search Plugin to your Jekyll site in a matter of minutes.
DocuScout's AI-powered Site Search enhances your Jekyll site by providing instant search capabilities. Users can quickly locate the content they're looking for.
In addition, the AI-powered chat feature enables users to interact using natural language queries. This chatbot is specifically trained on your site's content to deliver precise responses.
DocuScout not only offers an AI-powered chat but also includes instant search functionality, allowing users to effortlessly find information on your Jekyll site.
The video above showcases DocuScout in action on a simple Jekyll website where we've integrated the search functionality.
By the end of this guide, you will have learned how to implement DocuScout on your own Jekyll site. Let's begin.
Prerequisites
- If you have not already signed up for a DocuScout account, you can sign up here for a free account: Sign up for free
- Jekyll website where you want to add the search
Step 1: Create Site in DocuScout
Once you've registered with DocuScout, the next step is to create a site. This site will hold all the searchable content from your Jekyll website.

Click on the "Add Site" button create a new site.

- Site Name: Enter your site name, you can enter anything you like.
- Home page: Provide the URL of your site home page.
- Site Type: Under Site Type, select other.
Then press the Save button to add the site.
Step 2: Load Sitemap
Once your site has been added, you will be taken to the site detail page, here you can specify the Sitemap URL.
The crawler will load all the URLs from the sitemap automatically, if you wish to manually specify the URL you can also do so.
You can click on the "Load URLs from Sitemap" button to scan through all the URL in the sitemap. In Jekyll the location of sitemap is your-site-name.com/sitemap.xml
If your Jekyll site does not have a sitemap, then you can create a sitemap.xml file in the root of your project directory and
add the following code.
---
layout: null
search: exclude
---

<?xml version="1.0" encoding="UTF-8"?>
<urlset xmlns="http://www.sitemaps.org/schemas/sitemap/0.9">

    {% for page in site.pages %}
    <url>
        <loc>{{page.url}}</loc>
        <lastmod>{{site.time | date: '%Y-%m-%d' }}</lastmod>
        <changefreq>daily</changefreq>
        <priority>0.5</priority>
    </url>
    {% endfor %}

    {% for post in site.posts %}
    <url>
        <loc>{{post.url}}</loc>
        <lastmod>{{site.time | date: '%Y-%m-%d' }}</lastmod>
        <changefreq>daily</changefreq>
        <priority>0.5</priority>
    </url>
    {% endfor %}

</urlset>
If do not want use a sitemap then you can also manually specify the URLs using the "Save URL" button.

After the sitemap is loaded, click the "Request Crawl" button. This action prompts the crawler to start, scanning all pages to construct our Search and AI Indexes. The Search Index enables instant search capabilities, while the AI Index enhances the AI-driven Chat feature.
Step 3: Integrate the Search Bar in Jekyll
Adding Search Bar is Jekyll is very easy, now you just need to paste the required script tag and the div where you want to search bar to appear.
Paste the following code, where you want the search bar to appear
<!-- This div will be replaced by the Docuscout search bar -->
<div id="docuscout-search-bar"></div>

<script src="https://cdn.metered.ca/docuscout/1.0/docuscout.umd.js"></script>
<link rel="stylesheet" href="https://cdn.metered.ca/docuscout/1.0/style.css" />

<!-- Initialize Docuscout with configuration -->
<script>
    docuscout({
        container: document.getElementById("docuscout-search-bar"),
        environment: window,
        siteAPIKey: "REPLACE WITH YOUR SITE API KEY"
    });
</script>
Make sure to replace the REPLACE WITH YOUR SITE API KEY value with your Site API key that is shown in the dashboard, this will link your index
with your search bar.
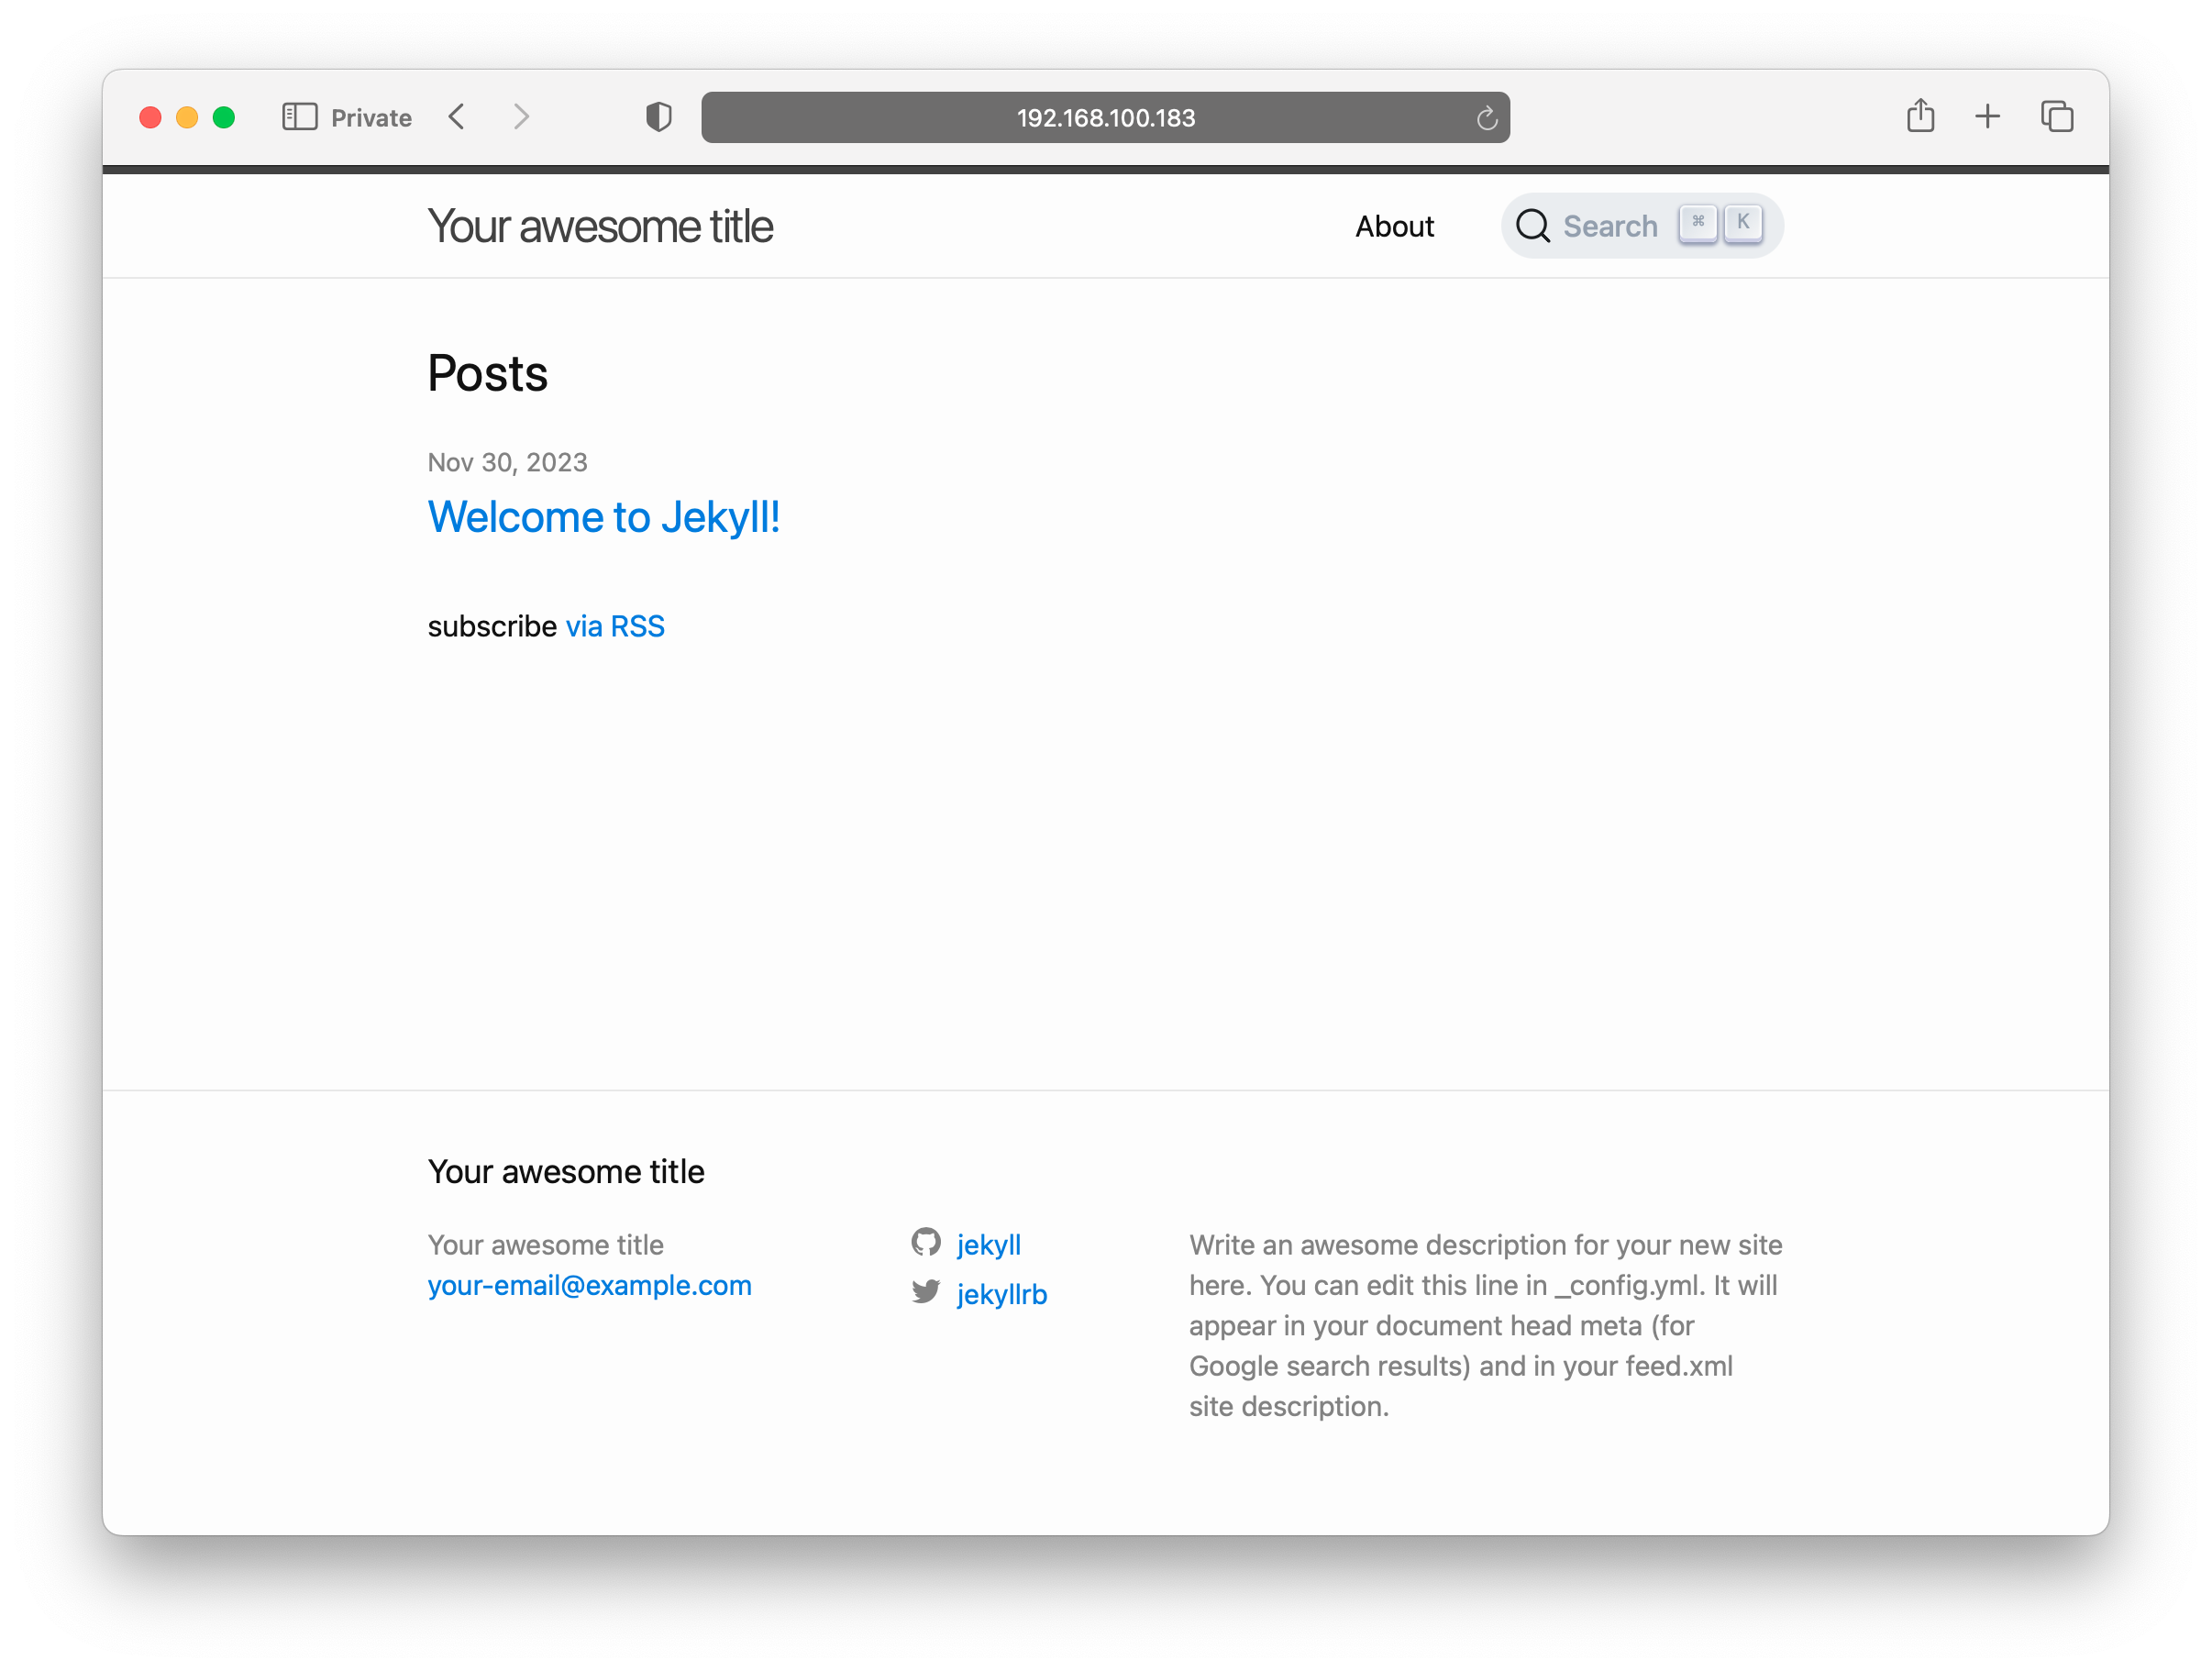
In the below example we have added the search bar to the default Jekyll theme, by adding the search bar to _includes/header.html file.
<div class="trigger" style="display: flex; margin-top: 10px; align-items: center;">
    {%- for path in page_paths -%}
        {%- assign my_page = site.pages | where: "path", path | first -%}
        {%- if my_page.title -%}
        <a class="page-link" href="{{ my_page.url | relative_url }}">{{ my_page.title | escape }}</a>
        {%- endif -%}
    {%- endfor -%}


    <!-- This div will be replaced by the Docuscout search bar -->
    <div id="docuscout-search-bar"></div>

    </div>

</nav>
{%- endif -%}
</div>

<script src="https://cdn.metered.ca/docuscout/1.0/docuscout.umd.js"></script>
<link rel="stylesheet" href="https://cdn.metered.ca/docuscout/1.0/style.css" />
<script>
    docuscout({
        container: document.getElementById("docuscout-search-bar"),
        environment: window,
        siteAPIKey: "REPLACE WITH YOUR SITE KEY"
    });
</script>
</header>
Step 4: Done!
We have learned how we can add Instant Search and Chat to a Jekyll Website.
When you click on the Search bar, it will open a modal that will allow you to do instant search.
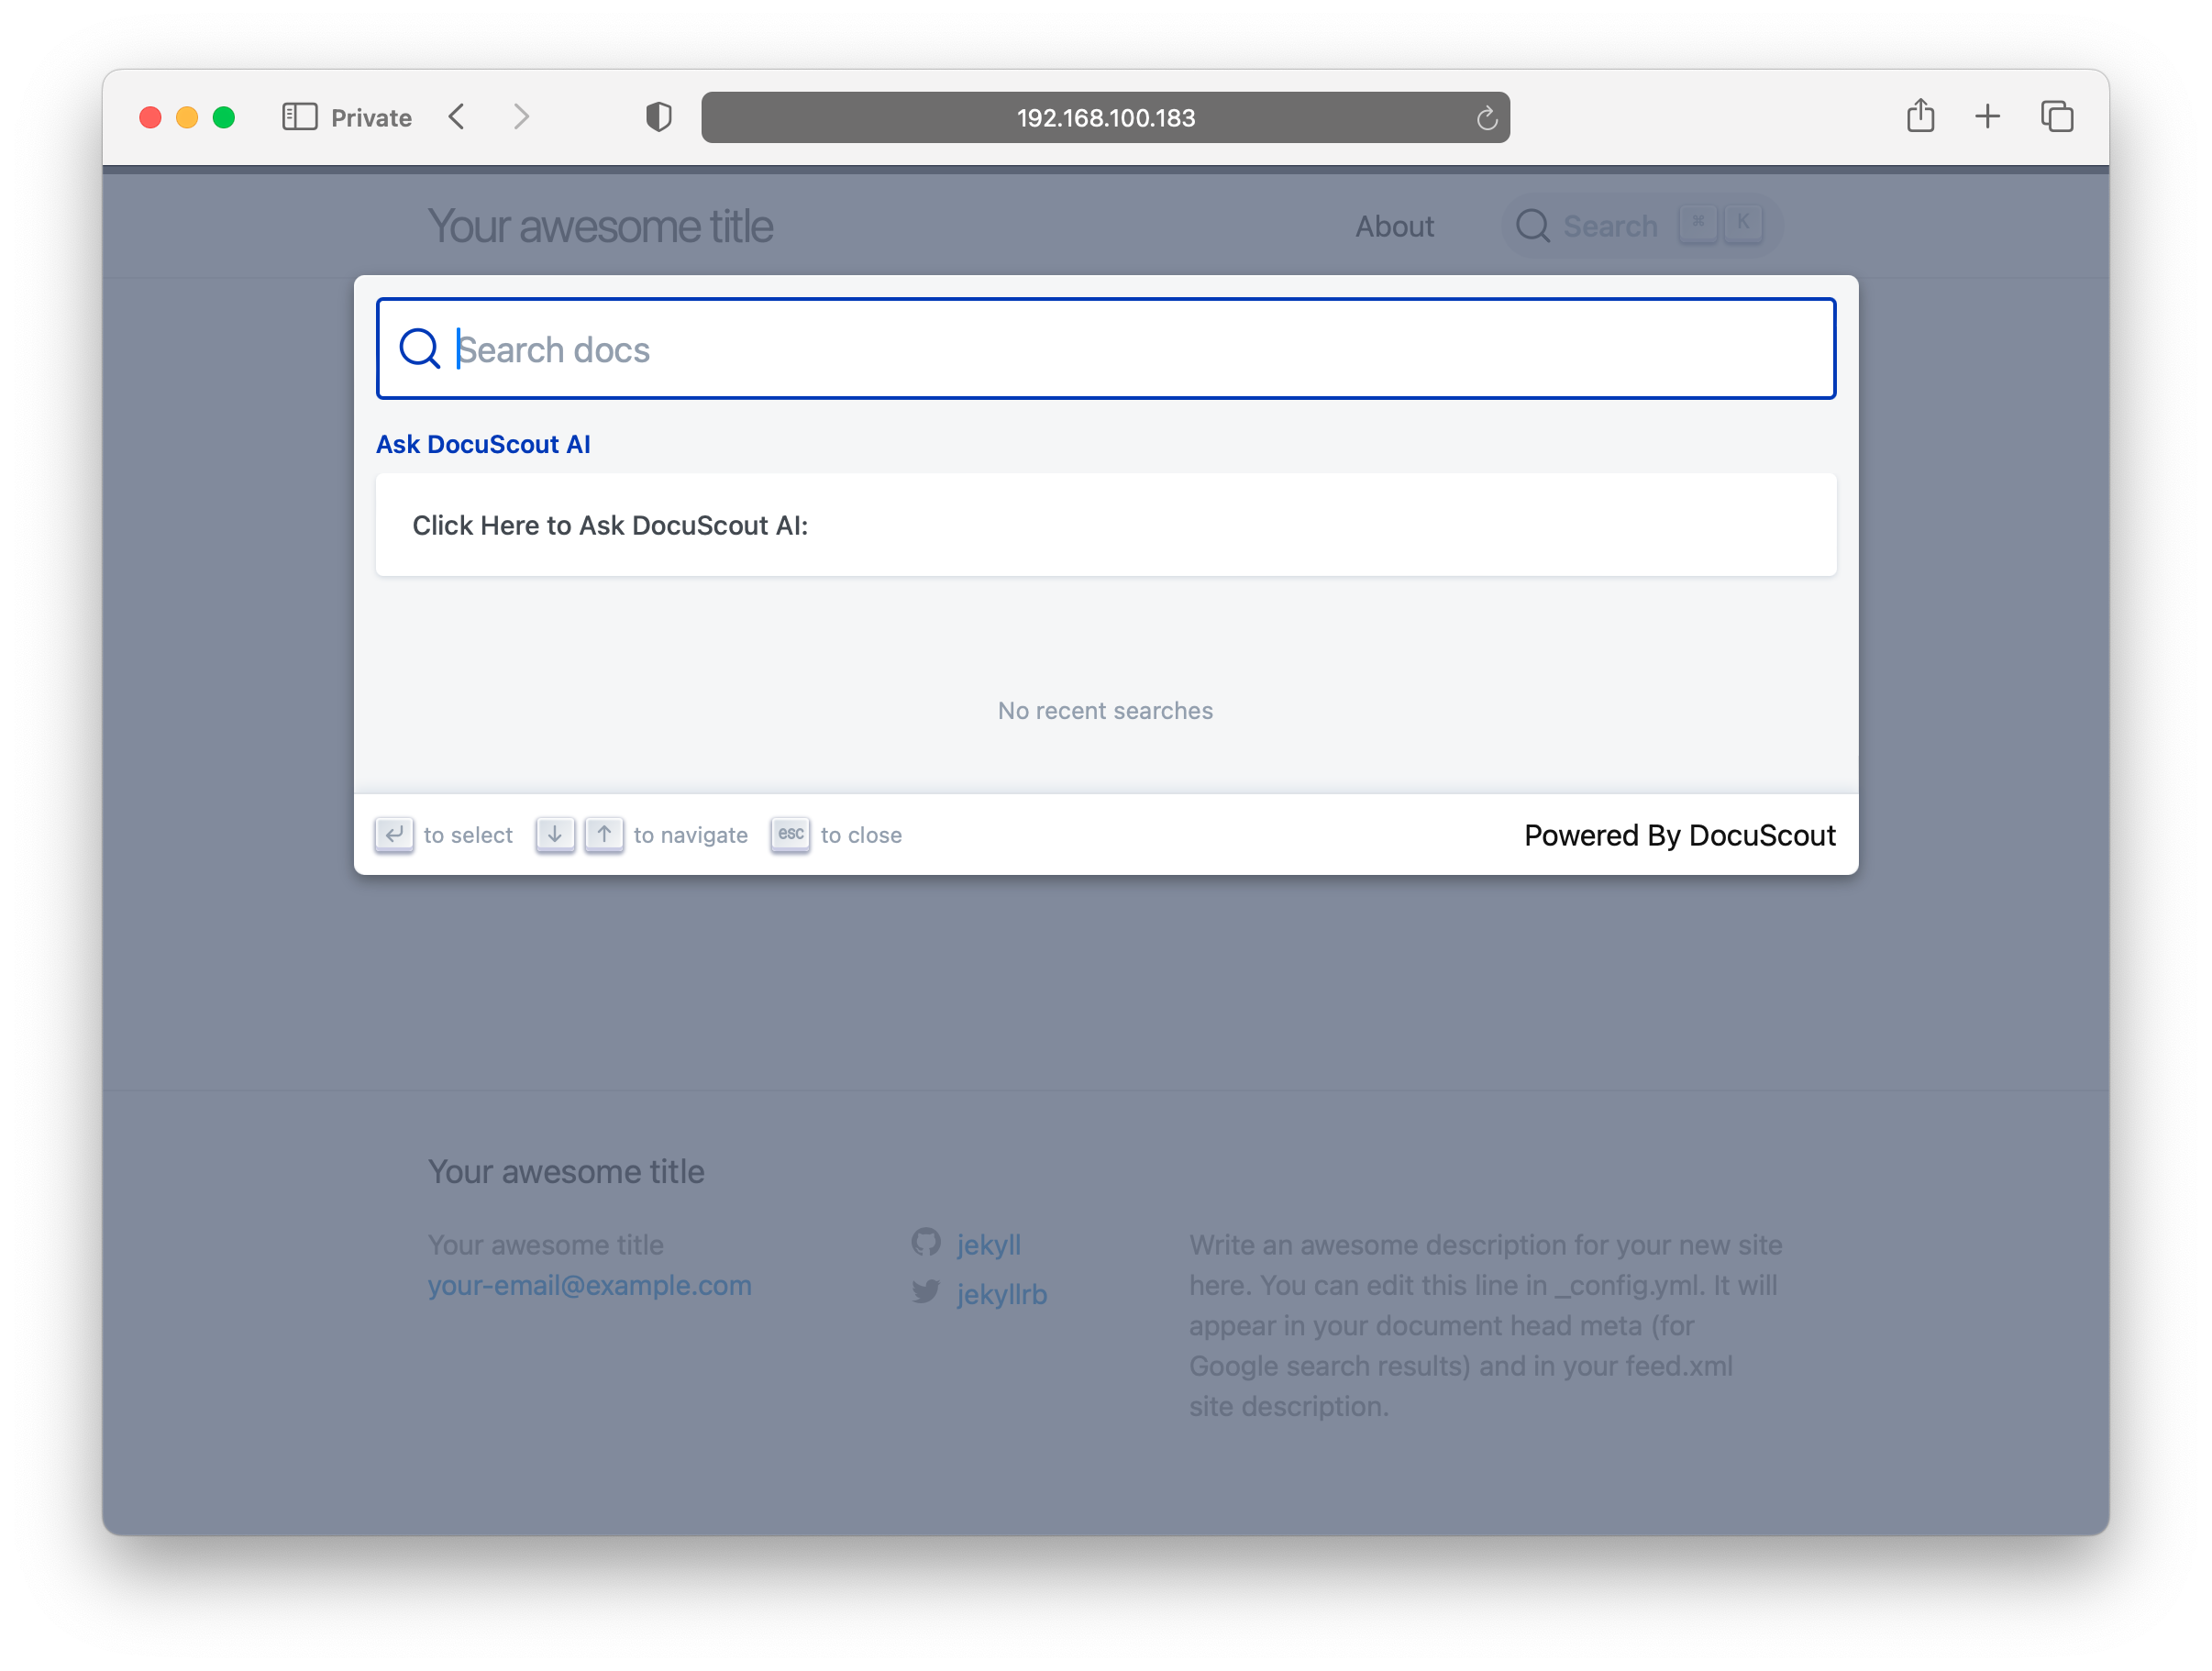
You can also ask the AI powered Chat which is trained on your Docs questions, and it will find the answers buried in the docs.

Conclusion
We hope this guide has been helpful in integrating Docuscout with your Jekyll site. If you have any questions or need further assistance, please don't hesitate to reach out to our support team.