How to Embed Video Chat
What is Metered Embed
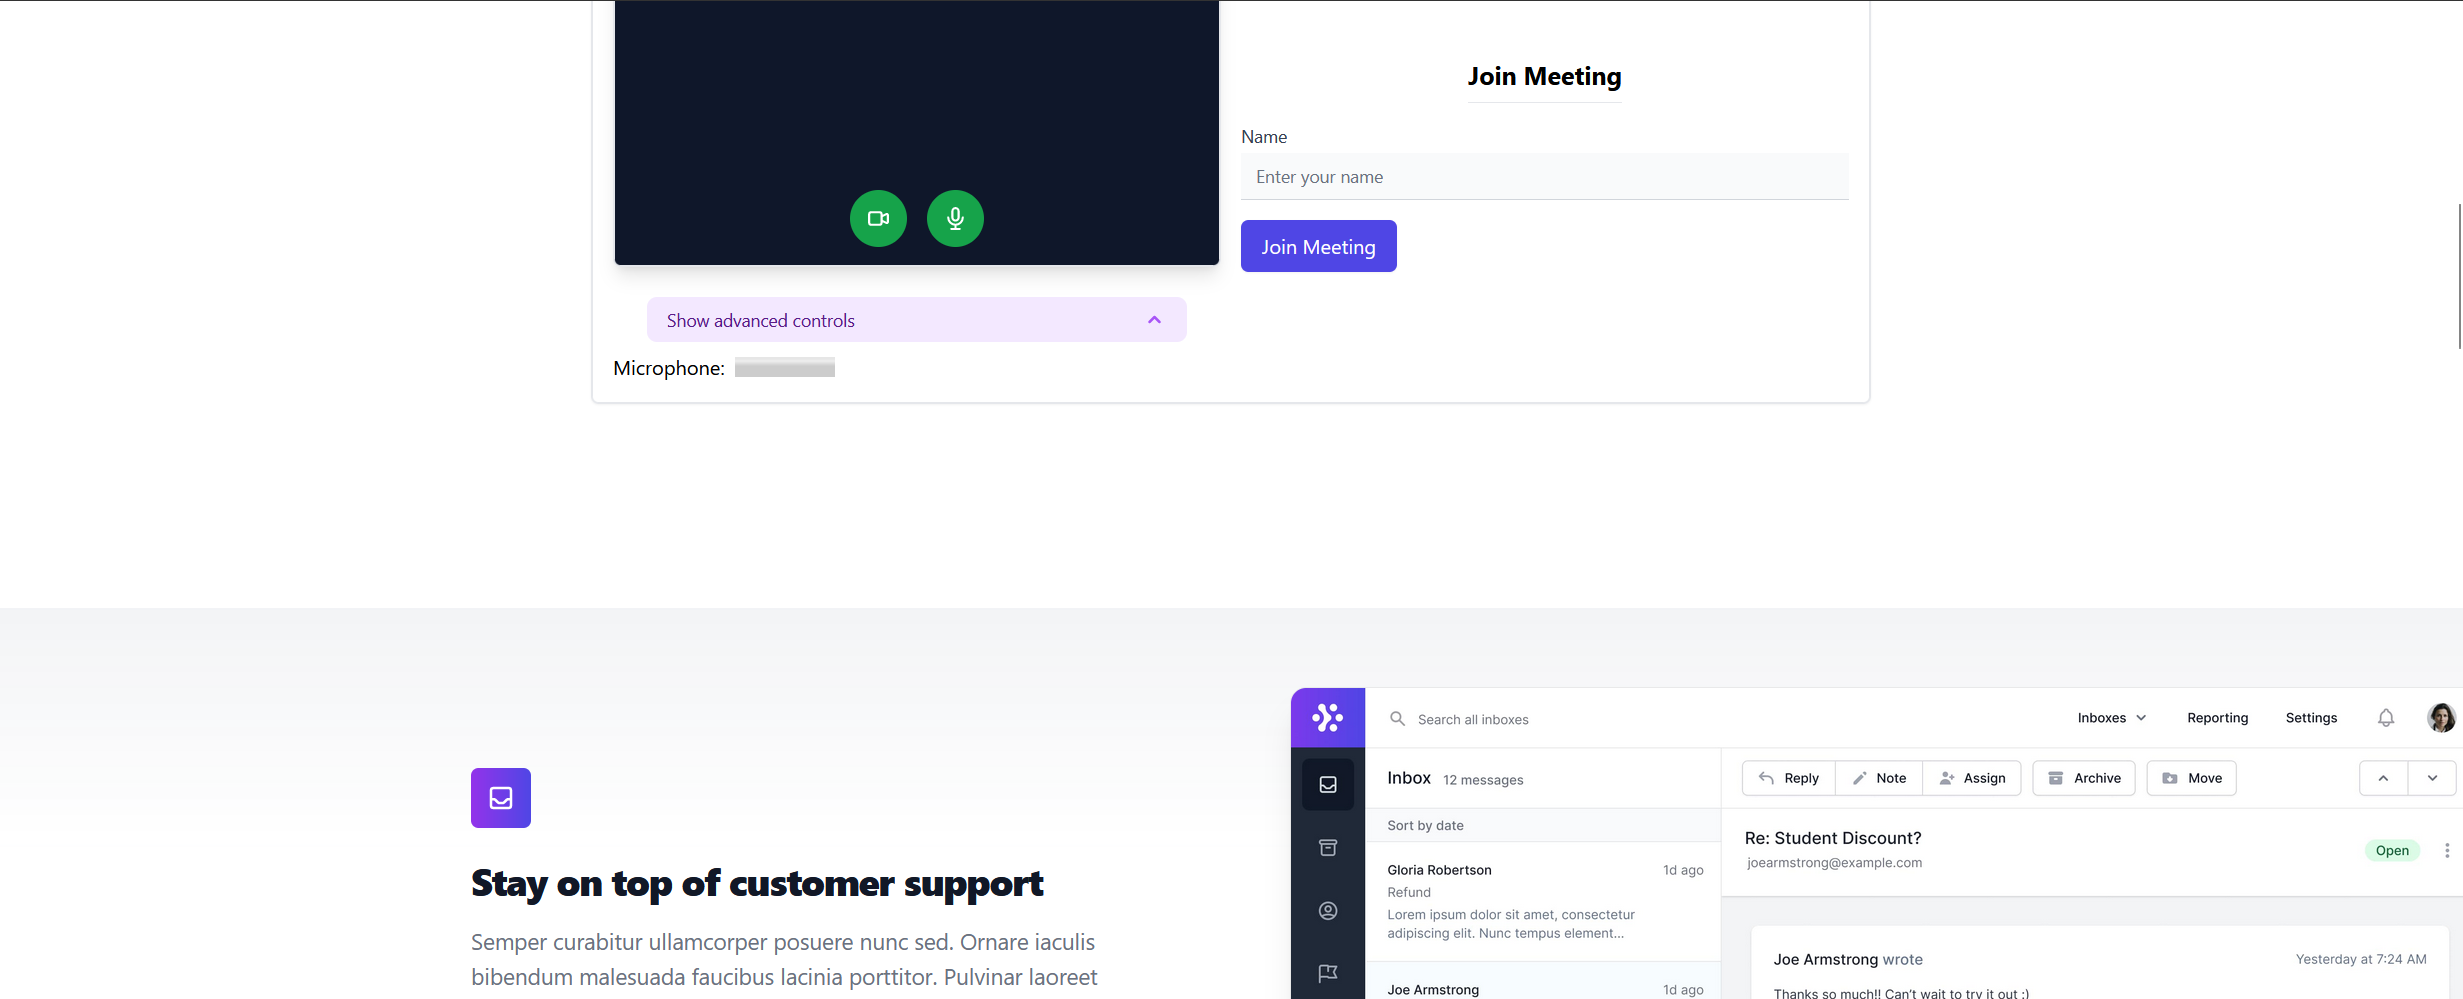
Metered Embed allows you to embed video calls and text chat into any existing app or website in minutes. With Metered Embed quickly add video calling, screen-sharing, live stream or chat capabilities into any existing app.
In this guide we will go through the complete process of how to embed a video chat into your app from start to finish.
Prerequisite
You must have a Metered account. If you don't have an account, you signup for a free account here: https://dashboard.metered.ca/signup
Step 1: Creating a room
You have a group video call you need a room. You can create a room through the API or through the dashboard. Right we will simply create a room through dashboard. You can read about creating room through API in the Advanced SDK Guide
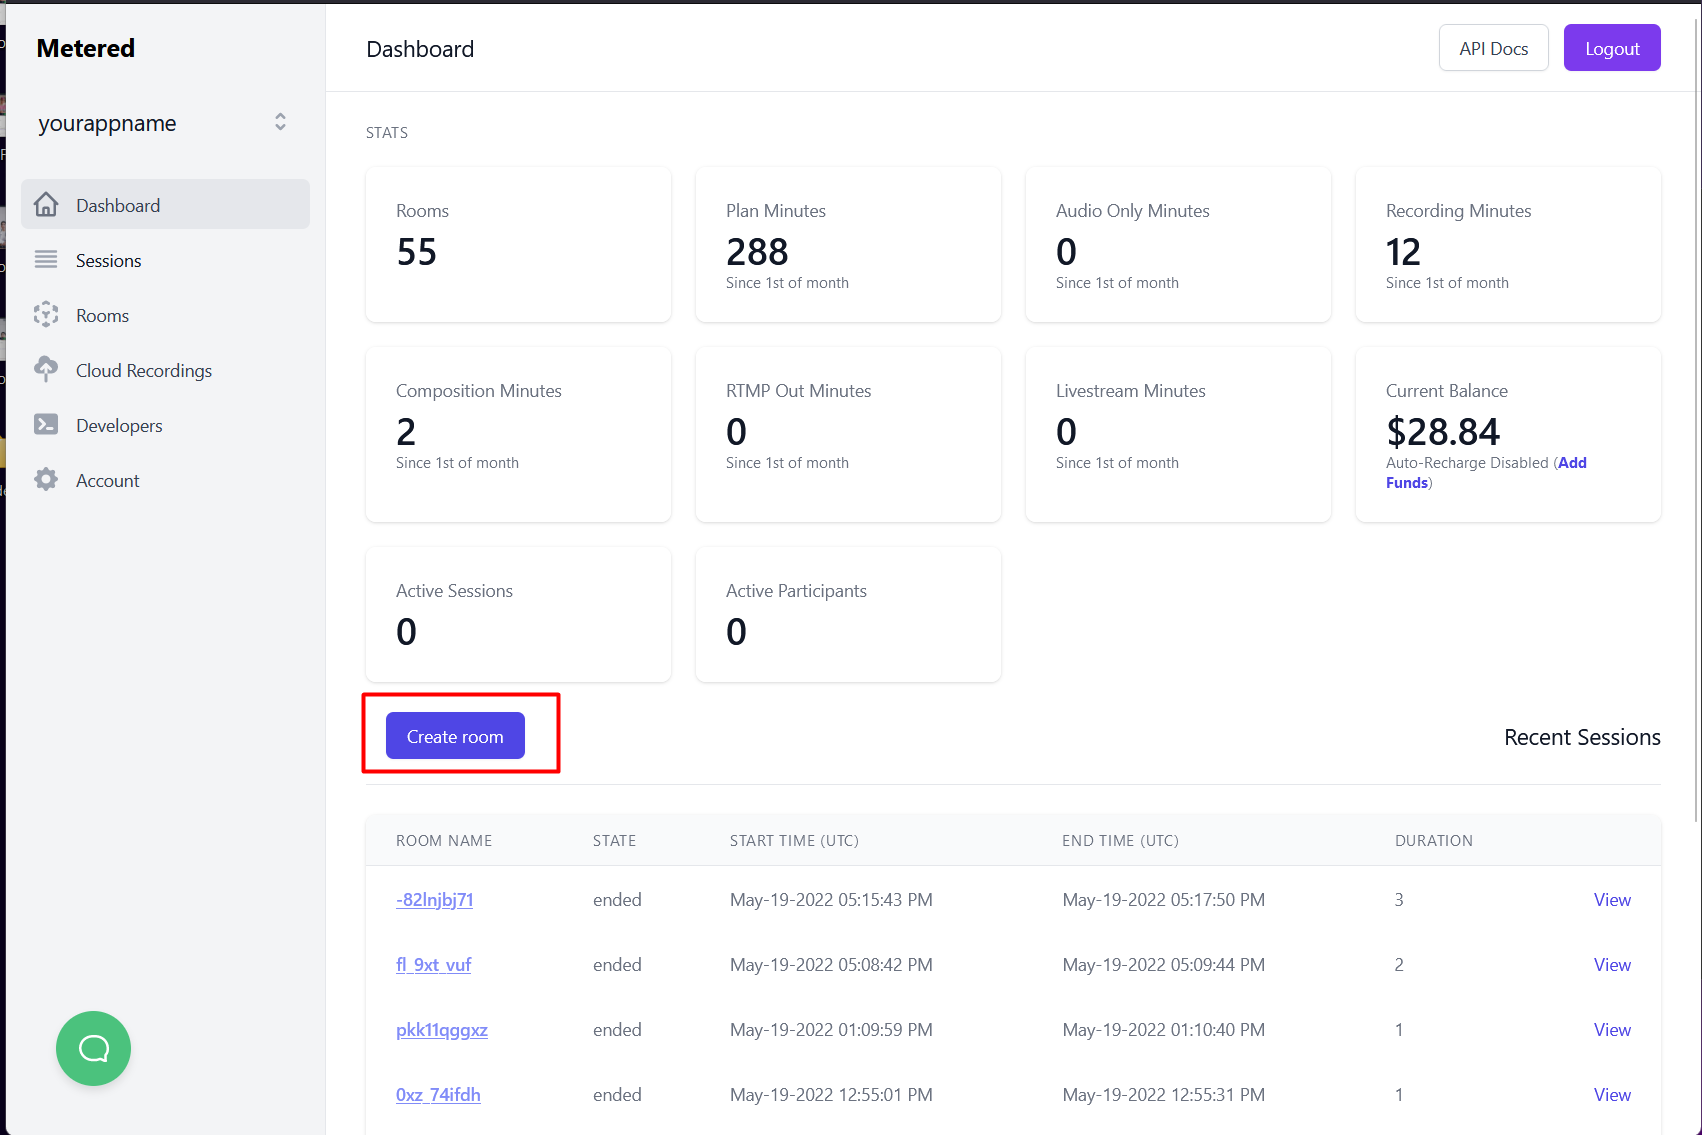
Go to https://dashboard.metered.ca and click on the create room button

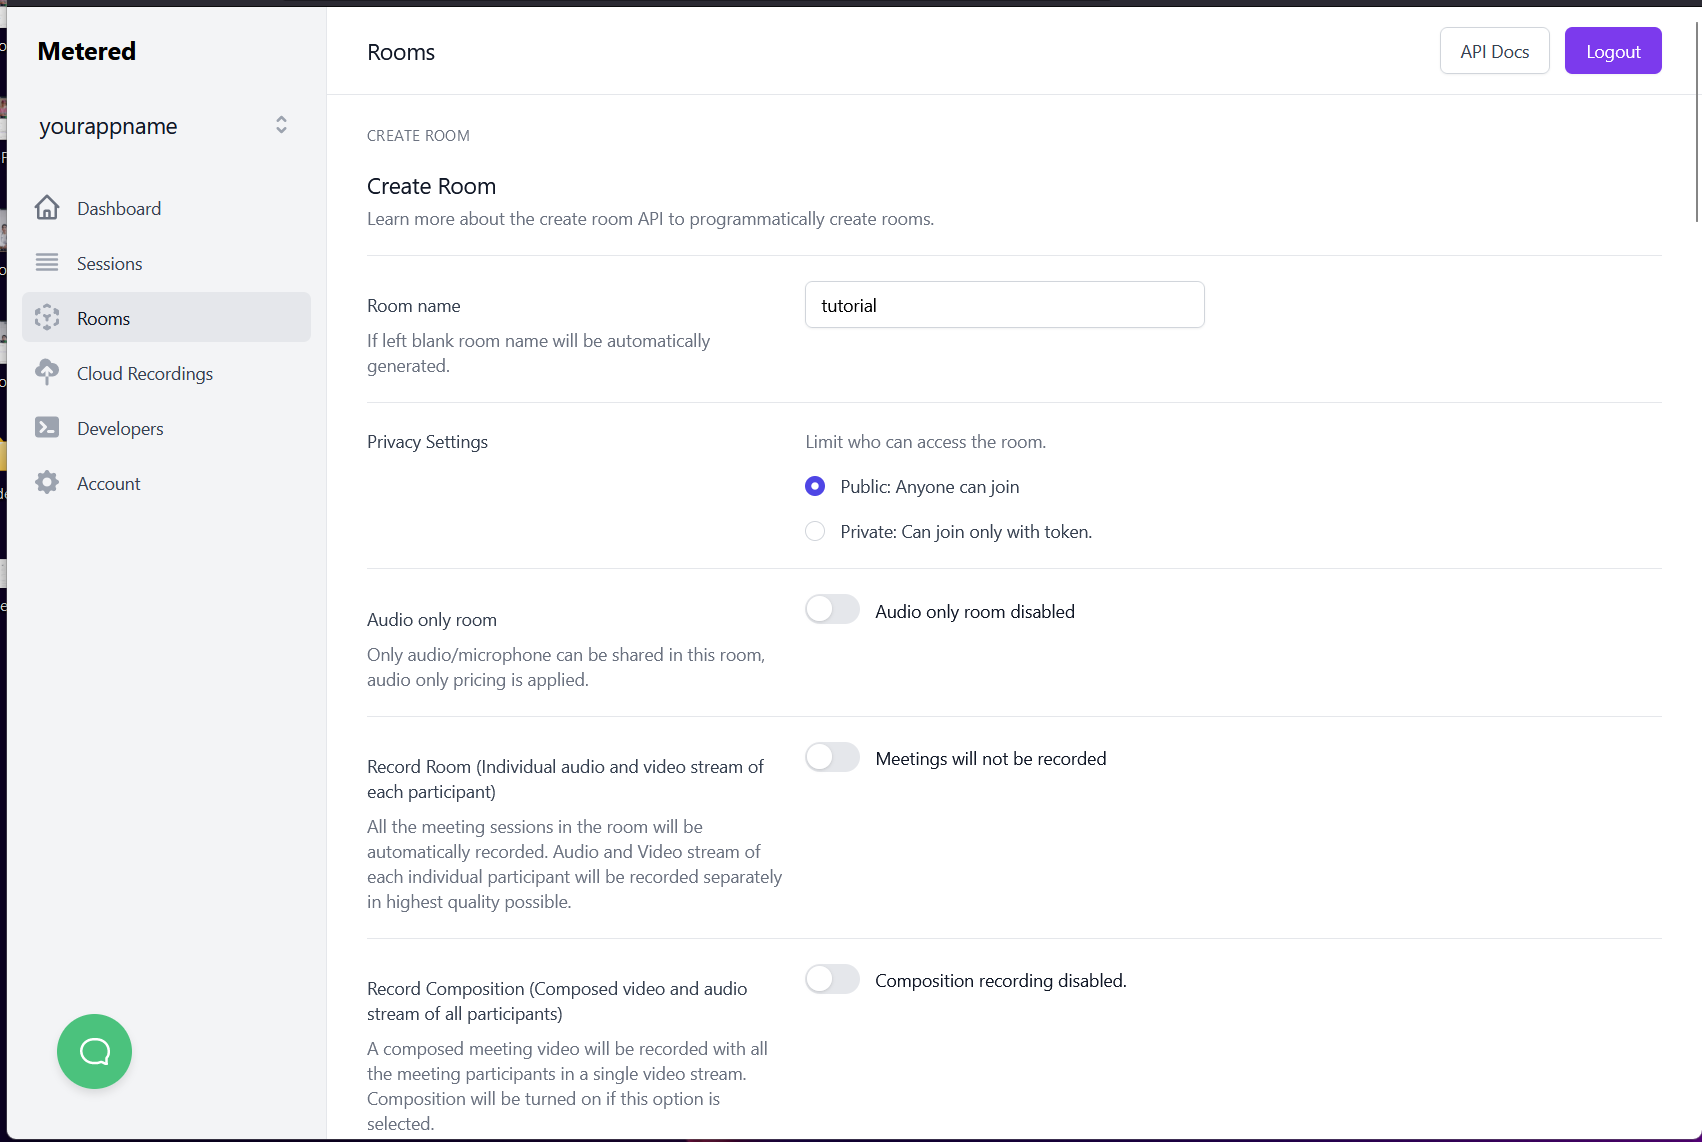
The give room a name, whatever room name you provide it will become the room url e.g: yourappname.metered.live/roomname and you can simply visit the room url to join the meeting.
We will name our room tutorial you can keep the rest of the settings as is and scroll down and press Create Room button.

Step 2: Embedding the Room
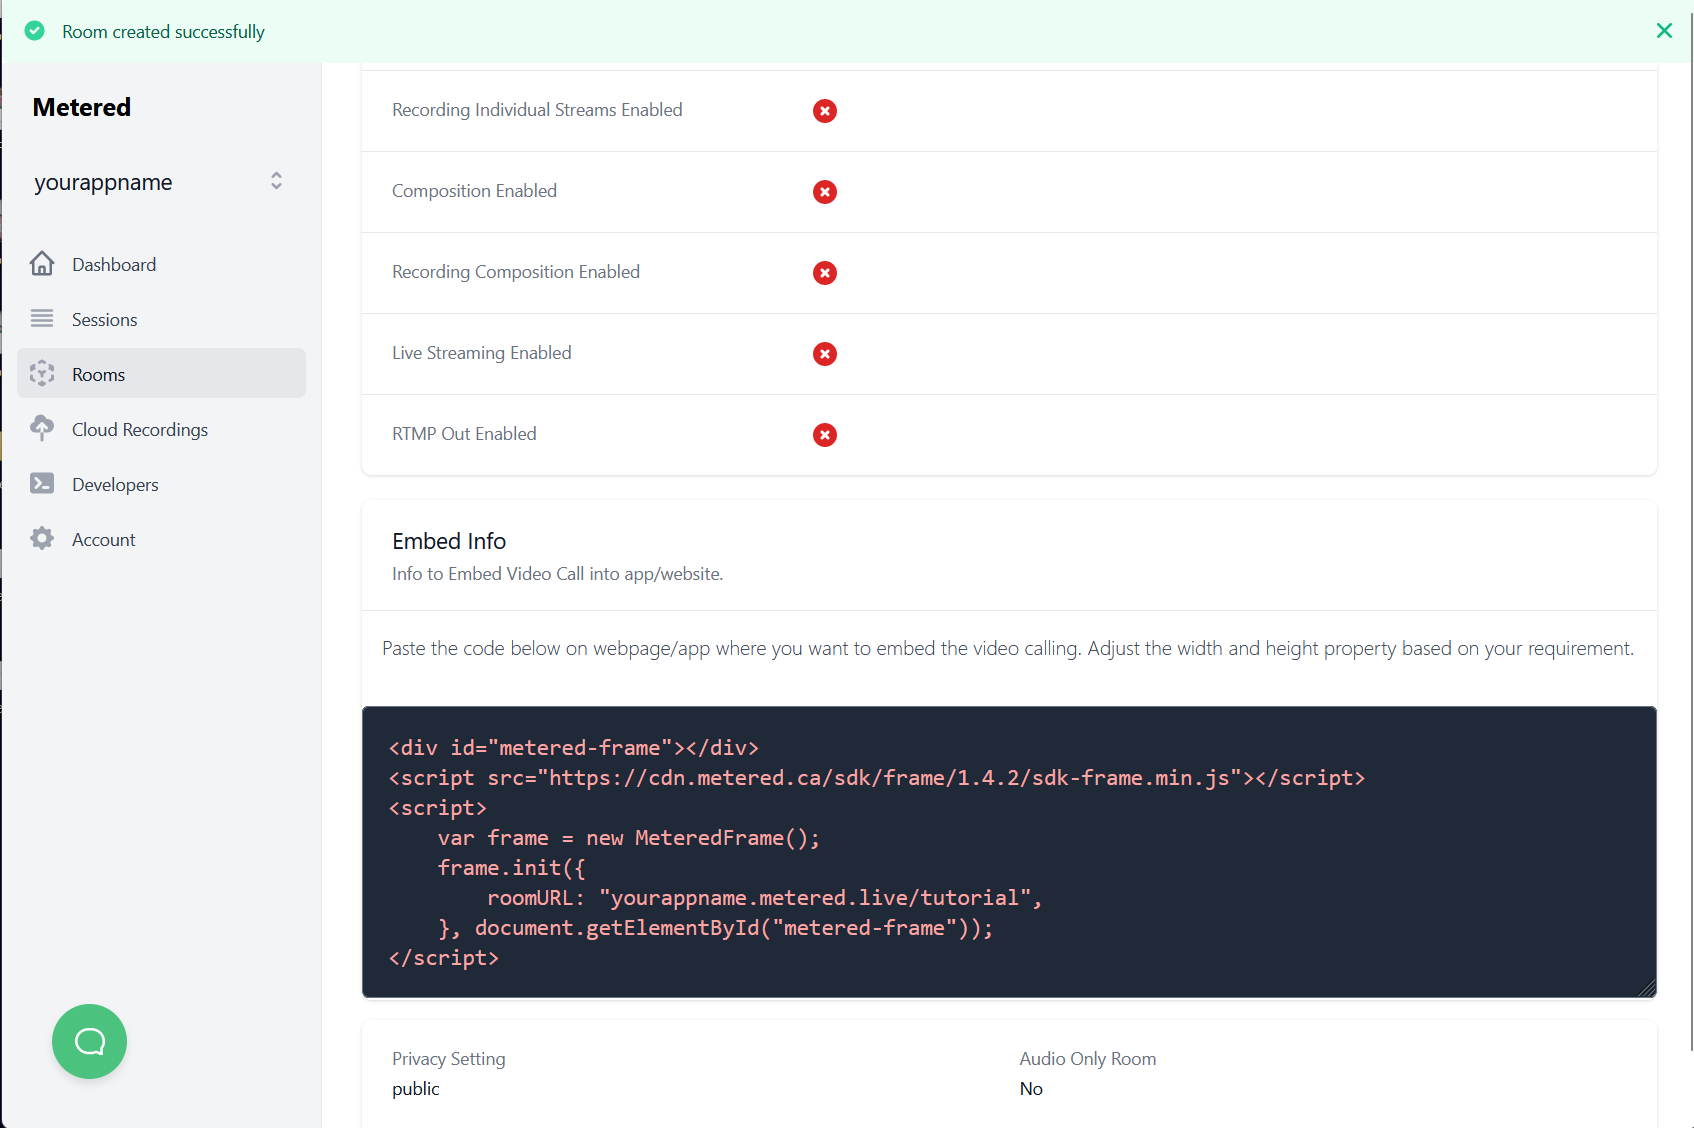
Once the Room is create, it will take you to the Room Detail page, here you will find the Embed Info.

<div id="metered-frame"></div>
<script src="https://cdn.metered.ca/sdk/frame/1.4.3/sdk-frame.min.js"></script>
<script>
    var frame = new MeteredFrame();
    frame.init({
        // This URL will be different. It will be unique based on your appName and roomName
        roomURL: "yourappname.metered.live/tutorial",
    }, document.getElementById("metered-frame"));
</script>
Once you have found the embed code, simply paste it into your website or mobile app code.

Anatomy of the Metered Embed Code
We will explain the Metered Embed Code structure.
To use the Metered Embed, you first need to include the Metered Frame SDK
<script src="https://cdn.metered.ca/sdk/frame/1.4.3/sdk-frame.min.js"></script>
Once it is imported them you need to create a div tag on the page where you want the embed to appear
<div id="metered-frame"></div>
You can give it any id you like, by here we have given it an id metered-frame
Then you need to create a frame object and initialize it
    // Creating the frame object
    var frame = new MeteredFrame();
    // Initializing the Frame
    frame.init({
        roomURL: "yourappname.metered.live/tutorial",
    }, document.getElementById("metered-frame"));
The init function takes two arguments, one if the options and second is the div tag where you want the frame to appear.
In the previous step we had created a div tag and given it an id metered-frame, so here we are fetching the div tag using document.getElementById("metered-frame") and passing it to the frame.init() method.
Available Options
The Frame init method takes the following options:
frame.init({
    roomURL: "",
    width: "100px"
    ...
}, <html_element>);
| Option | Required | Description | Default Value |
|---|---|---|---|
roomURL | YES | URL of the Meeting Room | |
width | NO | Specify the width of the embed | 100% |
height | NO | Specify the height of the embed | 600px |
autoJoin | NO | When autoJoin is true then users will not be presented with a Join Meeting/Lobby page and will be automatically join into the meeting. This property can also be set in the room settings, and whatever pass here will override the room settings. | false or whatever set in the Room Settings. |
name | NO | Name of the user. Used with autoJoin. Specify the name of the user and set autoJoin to true to automatically join the user with the specified name | |
accessToken | NO | Used with autoJoin. Specify the accessToken and set autoJoin to true to automatically join. | |
joinVideoOn | NO | Can also be set in the room settings. Whatever specified here will overried the room settings | true or whatever set in the Room Settings |
joinAudioOn | No | Can also be set in the room settings. Whatever specified here will overried the room settings | true or whatever set in the Room Settings |
showInviteBox | No | When there is only one participant in the meeting, an invite box is shown with insturctions to invite other users. If this is set to false the invite box is hidden | true or whatever set in the Room Settings |
disableScreenSharing | No | If screen-sharing is enabled in the room settings, then using this parameter you can disable the screen-sharing for one embed or a particular set of users. It can only be used to disable screen-sharing. If screen-sharing is disabled in the room setting this property cannot be used to enable screen-sharing. | false |
disableChat | No | If chat is enabled in the room settings, then this setting can be used to disable chat in the specific embed where this parameter is passed. | false |